
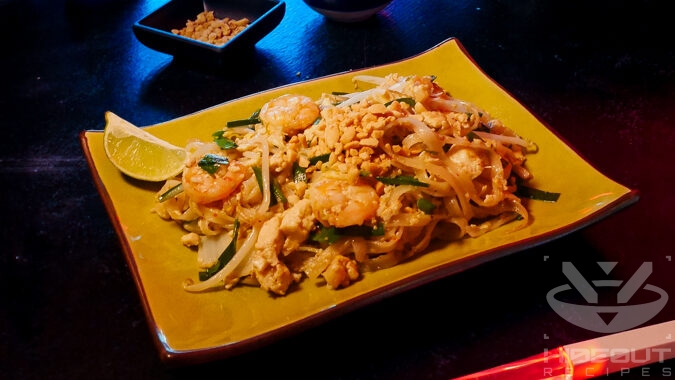
Pad Thai is a key ingredient in one of the most successful campaigns of gastro-diplomacy in the world, and for good reason. It’s sweet, light, and fresh, but somehow savory and filling all the same. Swap the protein to your liking, but never skip the garnish!
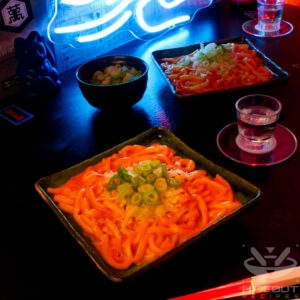
Oh! It’s actually pretty sweet. As in sugary. But also pretty sweet as in awesome.
A Patron
I originally learned a great Pad Thai recipe at House Of Taste in Bangkok that I altered based on experiments back home, and then refined again based on the Siamese Cookery House Cooking Class. One thing I learned is that Pad Thai is actually a fusion dish, as noodles are from China and weren’t widely eaten in Thailand until Pad Thai was introduced in the 1930s. That’s right – the national dish of Thailand is actually pretty young.
Apologies for the large number of notes on this one. I recommend reading them all before cooking, as there are lots of things to consider, ingredients to swap or leave out, and metrics to adjust to your liking. It’s just five extra minutes that will go a long way, and I promise that making the dish itself won’t be hard.
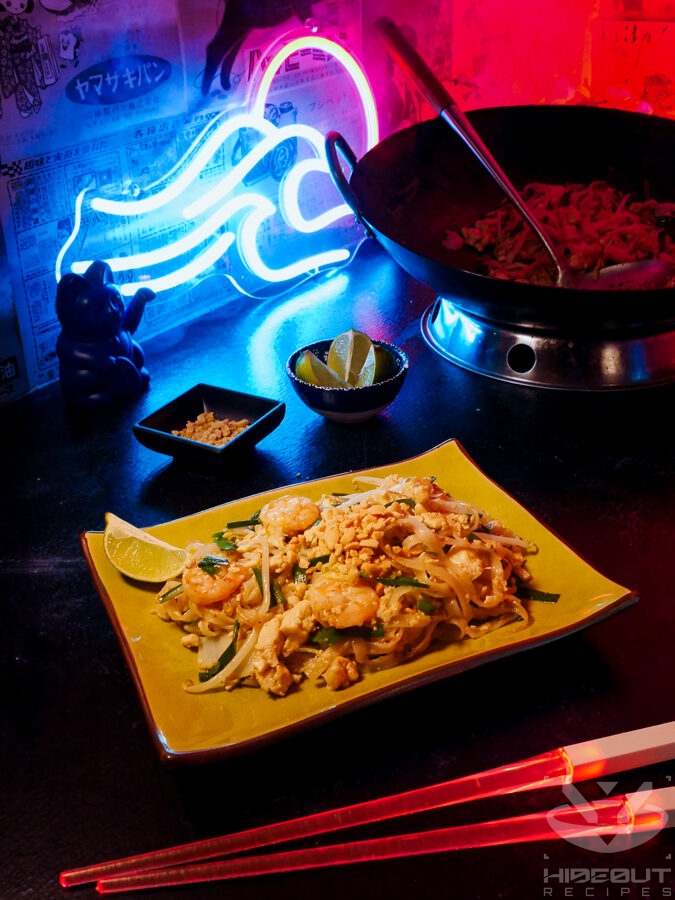
Packing heat
Timing is important with this recipe, as things move fast once the wok is hot. You want to keep the heat high and not cook anything for too long, or the Pad Thai will come out mushy. Consequently, this recipe works best in a wok over an open flame. A countertop stove on high heat works too, but will take longer and won’t come out quite the same. If you’re cooking for more than two people, you should make and serve the food in 2-person batches. Trying to make all servings at once will overcrowd and cool down the wok too much.
In order to get the timing right, you absolutely need to pre-portion and gather everything as described in the recipe. One slightly tricky part is not to under- or overcook the noodles. You can pre-cook them a little and then only briefly toss them in, or add them completely raw (but soaked!) and have some extra water ready if they take longer, and the wok is starting to dry out. Just try one to be sure.
Don’t add the mung bean sprouts and garlic chives until the noodles are all but done, you don’t want them in the wok for more than a minute before taking it off the heat.
In a pickle?
Pad Thai recipes usually call for preserved salted radish, which can be hard to find where you live. An easy alternative is to pickle some radish at home. In my photos, you can see some pickled napa cabbage I still had in the fridge, although the texture is quite different, and you usually want the pickle to provide some crunch. Zha cai (Chinese pickled mustard stem) also works very well using the same amount per serving. If you can’t find any of that and don’t want to make your own, just leave it out.
Balancing act
Pad Thai is all about balancing sourness, sweetness, and spiciness. The recipe should provide a decent baseline, but everybody’s idea of a good balance is different. That is why, in Thailand, you are often served a number of condiments on the side. Lime and peanut are crucial, followed by chili flakes. Some places in Thailand also serve a bowl of white sugar on the side. I don’t like the crunchy undissolved crystals on top, personally, so it’s not in the recipe. You can also reserve some of the bean sprouts for garnish to add freshness and crunch. (Balance aside, quite a few people like myself are allergic to peanuts, so please don’t make us scrape the tiny crumbs off our noodles again.)
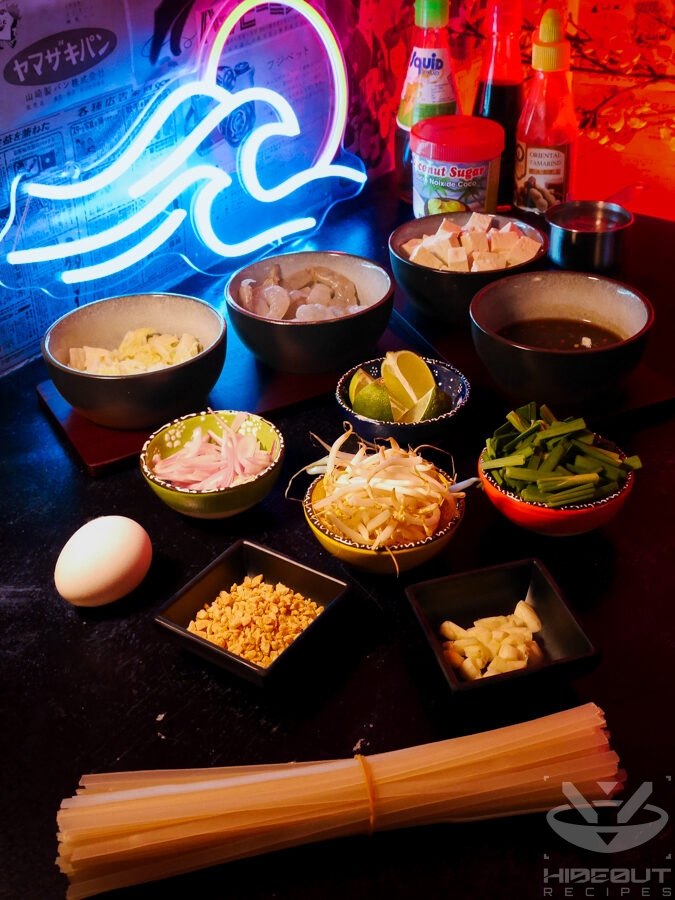
Good Pad Thai is all about getting and prepping the right ingredients. Cooking it is fast!
Tamarind “paste”
What does “tamarind paste” vs. “pulp” vs. “concentrate” vs. just “tamarind” mean in a recipe? Let’s do the deep dive another day. For this recipe, you don’t want a solid block of tamarind, you don’t want a sauce with anything extra added for use with a specific dish, and you definitely don’t want an Indian tamarind product, as those have a completely different taste.
You can use either the sauce-like diluted tamarind that usually comes in plastic squeeze bottles, or the somewhat less diluted, less liquid tamarind paste that comes in a jar, the latter being a little more intense in flavor. The important part is that it be just tamarind and water (and preservatives).
Tamarind is a key ingredient you should not skip. I’ve seen substitutes for it online (such as ketchup) that I haven’t tried, but I’m skeptical as they don’t provide its signature sourness.
More on the ingredients
Just a few more notes, and I’ll finally let you make the dish:
- If you’re not into seafood, replace the shrimp with bite-sized pieces of chicken breast, or leave it out altogether for a vegetarian variation.
- I used smoked tofu once, which is not authentic, but tasted great.
- Pad Thai noodles are straight, and their thickness varies – I recommend 5mm. If you can only find pho noodles, they should work as well.
- Some Pad Thai recipes call for just “chives”. Don’t get confused: In Thailand (and other parts of Asia), this means garlic chives by default, not the tubular type more commonly used in the West.
Recipe credit
This recipe is originally based on two others: the one by RecipeTin Eats, and the one I cooked at the House Of Taste cooking class. I’ve practiced it many times, made countless tweaks to the ingredients and steps, and written up as much additional advice as I could.

Shrimp Pad Thai
Equipment
- 1 mortar for crushing the peanuts optional
Ingredients
Sauce
- 0.5 tsp chili flakes plus more for serving
- 1 tbsp tamarind paste
- 2 tsp fish sauce
- 1 tbsp coconut sugar or palm sugar
- 1 tbsp oyster sauce
Stir-fry
- 150 g Pad Thai noodles dry weight
- 100 g firm tofu
- 12 large shrimp raw
- 1 egg large
- 40 g mung bean sprouts fresh
- 60 g Thai pickled radish sub zha cai
- 30 g garlic chives (aka Chinese chives) about 6 stalks
- 200 ml water
- 2 cloves garlic
- 0.5 shallot or small onion
- 3 tbsp neutral oil
For garnish
- 13 g peanuts
- 0.5 lime
Instructions
Ahead of time
- If making your own pickled radish (or similar), do it at least a day before.
- If using frozen shrimp, let them thaw at room temperature for about two hours ahead of cooking.
Prepare garnish
- Crush the peanuts, e.g. in a mortar. Don't overdo it, leave some bigger chunks.
- Heat up a small pan without any oil. Add the peanuts and roast them until lightly browned.
- Quarter the lime.
- Set lime and peanuts aside for garnish at the table.
Prepare ingredients
- Put the noodles into a large bowl and pour boiling water over them until completely covered. Let them sit for about 5 minutes, then drain the water.(May need to adjust the timings based on package instructions. They should be about half-done before being added to the wok. Notes on getting the right done-ness above!)
- Mentally add "… and set aside, ready to be thrown into the wok" to all the following preparation steps.
- Stir all the sauce ingredients together until well-combined.
- Cut the tofu into bite-sized cubes.
- Crush and/or roughly chop the garlic.
- Cut the shallot or onion into thin wedges.
- Chop the garlic chives into 3cm long pieces.
- Finely chop the Thai pickled radish (or zha cai).
- Set the pre-measured water as well as the egg aside.
- Wash the mung bean sprouts and pat dry.
Fry
- Heat the oil in a wok at high heat.
- After a minute or two, throw in the garlic. It should only take a few seconds to brown.
- Add the onion wedges and fry for a few more seconds.
- Crack the egg and add it to the wok. Drop it from a low height to avoid splashing hot oil everywhere.
- Stir to scramble the egg and fry for a few seconds. Keep occasionally stirring and/or rocking the wok from here on out.
- Add the tofu, shrimp, and pickled radish (or zha cai).
- Add the noodles, then stir in the prepared sauce.
- Add about half the water and keep stirring until it's reduced to a sticky sauce.
- Try a noodle, it should be very close to done now. If not, carefully keep adding water until they are.
- Add the garlic chives and mung bean sprouts, stir for no more than a minute.
- Spread to bowls or plates and serve hot. Serve peanuts, lime wedges, and chili flakes on the side.
2 Comments
Just finished my first attempt and I 100% agree that you need to mise en place for this recipe. I let it cook for an extra minute at the end and it got soft, wet, and broken.
But the reason why it overcooked is because the recipe did not call for enough sauce, in my opinion. I needed to quickly hack together an extra serving of sauce or else it was going to come out too bland.
Tl;Dr, Make double/triple the sauce so you have more than you need and can scale back if necessary. Flavor is great!
Thank you so much for cooking the recipe and sharing your feedback!
There’s definitely a danger of a mushy result with Pad Thai. Getting the doneness of the noodles right prior to adding them to the wok is crucial, and I tried a few different approaches (which I briefly mention in the post). The high heat of a proper gas flame also really helps. You want to only briefly sauté each added ingredient before moving on to the next step.
The indicated amount of sauce was enough for me in the past, but having more sauce or water ready to go just in case can’t hurt. Just be careful, or you’ll get more of “pat dry” (sorry, haha).