A full tutorial on how to make a healthy traditional Japanese breakfast. Six courses to start your day, broken up into manageable prep sessions. Perfect for beginners – without choice paralysis or the need for endless research!
Hear me out on this one, it’s easier than you think. I make it pretty often at home nowadays.
The Chef
The concept
If you scour the Internet for traditional Japanese breakfast recipes, you are met with a large variety of dishes. But which ones to pick? And who has time for all that in the morning anyway? That’s at least what I asked myself when I first tackled the topic, so I decided to pre-select a balanced combination and walk you through the preparation so you only have minimal work left to do in the morning. It looks like a lot to read and work through, but it will ultimately save you a lot of time compared to figuring it all out by yourself.
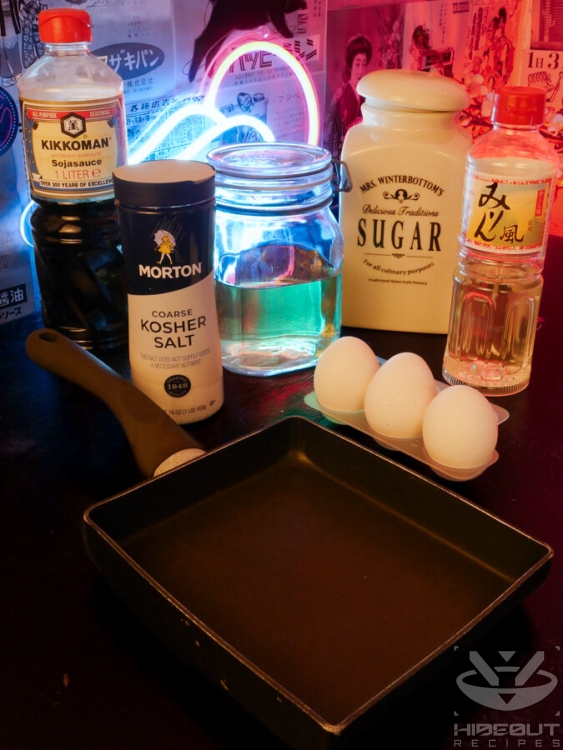
Traditional Japanese breakfast is always made up of several components, each of which plays its own role. You have many choices for each component, but these are the ones I picked out: baked salmon (main dish), Tamagoyaki (egg dish), sesame spinach (vegetable dish), miso soup, pickled carrot and radish, and finally white rice topped with some nori and natto. I made sure to pick dishes that use widely available ingredients and no special techniques or equipment, safe for maybe the Tamagoyaki pan. If you don’t have one already, I highly recommend getting one. I’ve been using mine multiple times a week for years now, for all sorts of small dishes besides Tamagoyaki.
About the amounts & schedule
Rather than individual recipes, we will be breaking this breakfast down into three distinct prep sessions so you know exactly what to do and when! Just store everything you prepared in the fridge until shortly before use.
The shopping list and the first prep sessions (two nights before) are enough to prepare two breakfasts for two people each. The prep the night before and in the morning are only for one 2-person breakfast. Personally, I like to do it something like this (just as an example):
- Thursday night: First prep session for both breakfasts (4 servings)
- Friday night: Second prep session for Saturday breakfast (2 servings)
- Saturday morning: Finish and eat first breakfast (2 servings)
- Saturday night: Second prep session for Sunday breakfast (2 servings)
- Sunday morning: Finish and eat second breakfast (2 servings)
Recipe credit
While I’ve come up with this approach, recipe selection, and workflow on my own, the concept and recipes are largely based on the Traditional Japanese Breakfast At Home guide by Just One Cookbook. If you find yourself wanting to make different variations of the various components, their guide offers up plenty of additional choices!
Shopping list
The following is enough for four servings, or two breakfasts for two people each. Of course, you can shop for larger amounts to get any number of breakfast servings ready ahead of time.
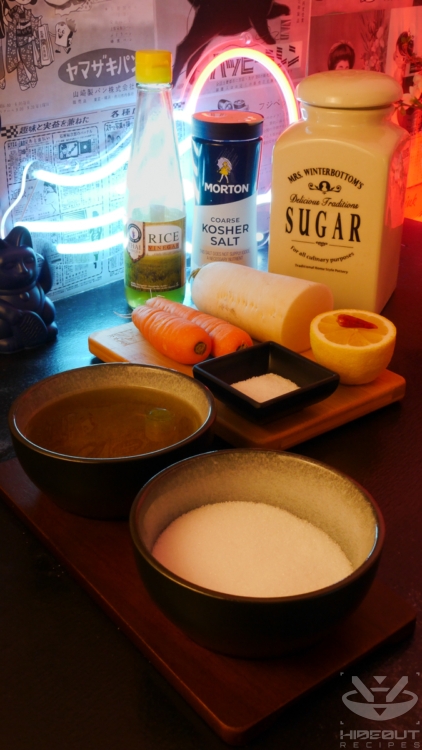
Japanese Breakfast: Ingredients
Equipment
- 1 tamagoyaki pan
- 1 mid-sized mason jar for storing dashi
- 1 freezer bag for storing pickles
- 2 airtight containers for storing salmon & sesame spinach
- 1 mortar & pestle for grinding sesame
- 1 sieve or cheese cloth for straining dashi; optional
- 1 rice cooker recommended
Ingredients
Baked salmon
- 4 skin-on salmon fillets or more for freezing
- 1 tbsp sake drink the rest 😉
- 14 g coarse salt
Rice bowl
- 2 cups Japanese short-grain rice
- some pre-shredded nori aka kizami nori
- 2 portions frozen natto often sold in 3-portion packs
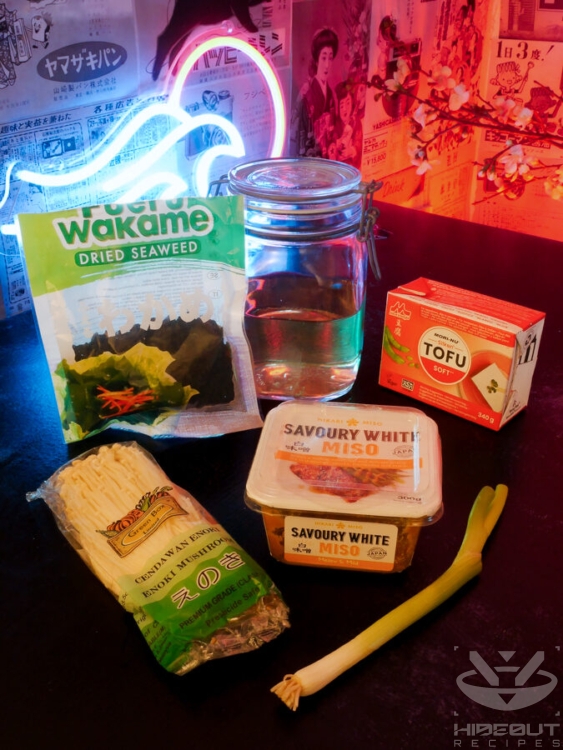
Miso soup
- 1-2 sheets kombu seaweed for the broth
- 15 g katsuobushi for the broth
- 1 l water for the broth
- 1 bunch enoki mushrooms or shimeji
- 1 block silken tofu
- 1 tbsp wakame seaweed dried
- 4 tbsp white miso paste
- 1 stalk scallion
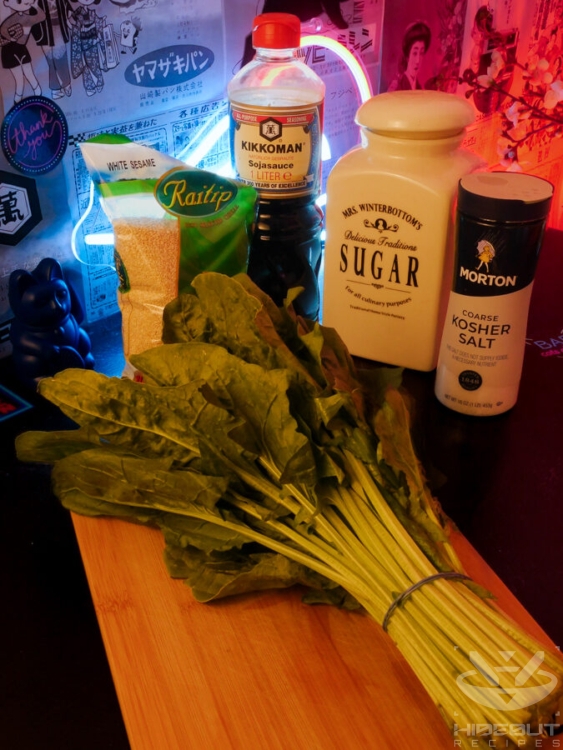
Sesame spinach salad
- 3 tbsp white sesame seeds toasted
- 1 tbsp soy sauce
- 1 tbsp white sugar
- 0.5 tsp salt
- 225 g fresh spinach or baby spinach leaves
Pickled carrot & radish
- 225 g daikon radish or similar large, white radish
- 1 small carrot around 60g
- 0.5 lemon
- 240 ml rice vinegar
- 100 g sugar
- 1 tsp salt
Tamagoyaki (2 omelets)
- 6 eggs large
- 90 ml dashi homemade or powder-based
- 4 tsp sugar
- 2 tsp soy sauce
- 2 tsp mirin
- 2 pinch sea salt
- some neutral cooking oil
2 nights before
Two nights before your breakfast, you get most of the work done already by prepping four of the dishes. Detailed instructions follow below!
First up, you brine the salmon:


Next, you pickle the carrot and radish:
The sesame spinach can also be made now (or the night after if that suits your schedule better):
And finally, the dashi can basically be prepared any number of days in advance:

Japanese Breakfast: 2 nights before
Instructions
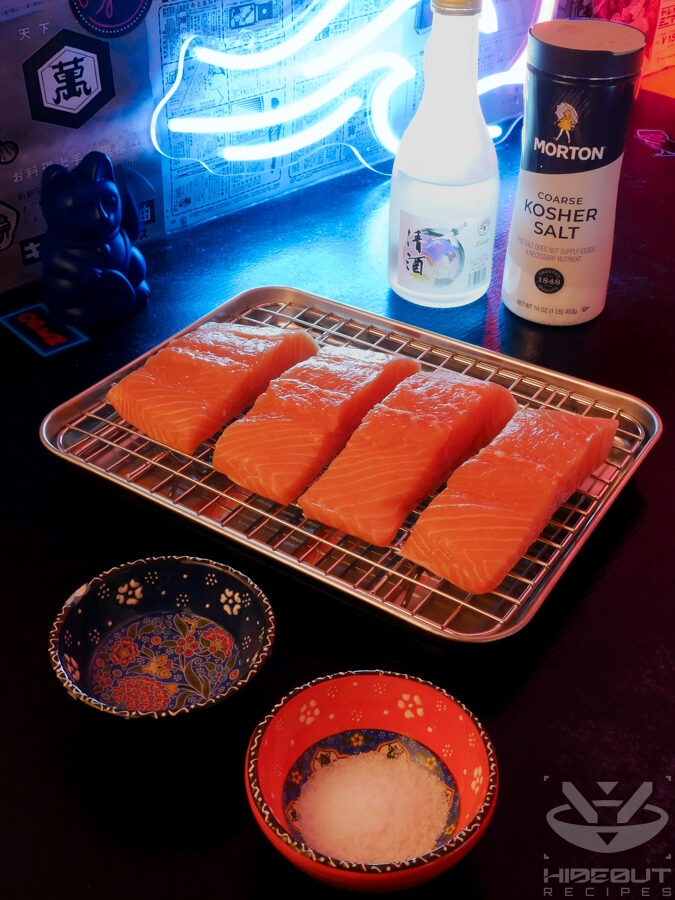
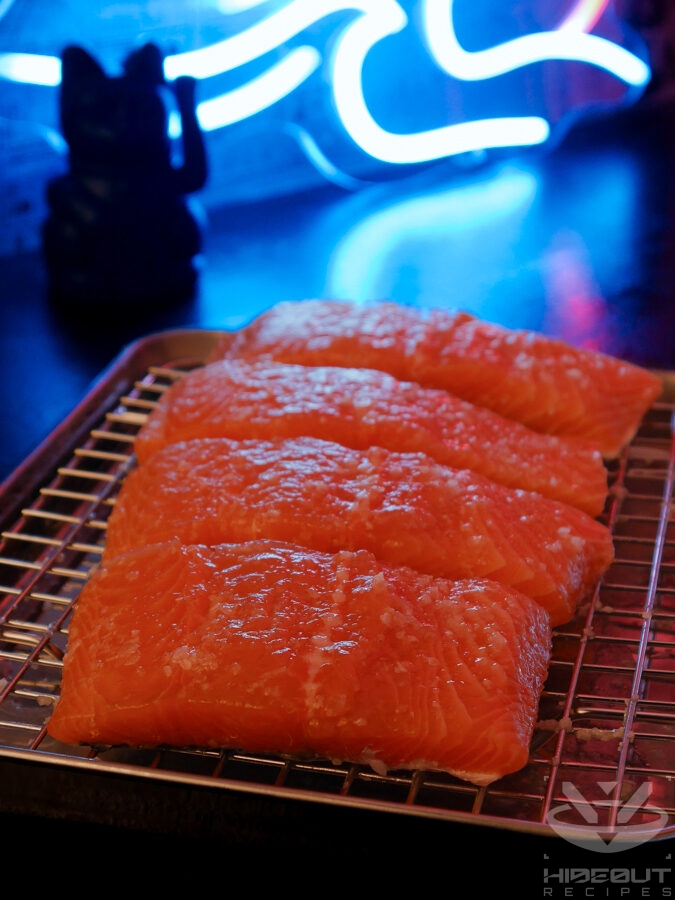
Cure the salmon
- (Note: It's easy to pre-make a lot more salmon. When cured, just take the additional fillets and freeze them inside vacuum freezer bags.)
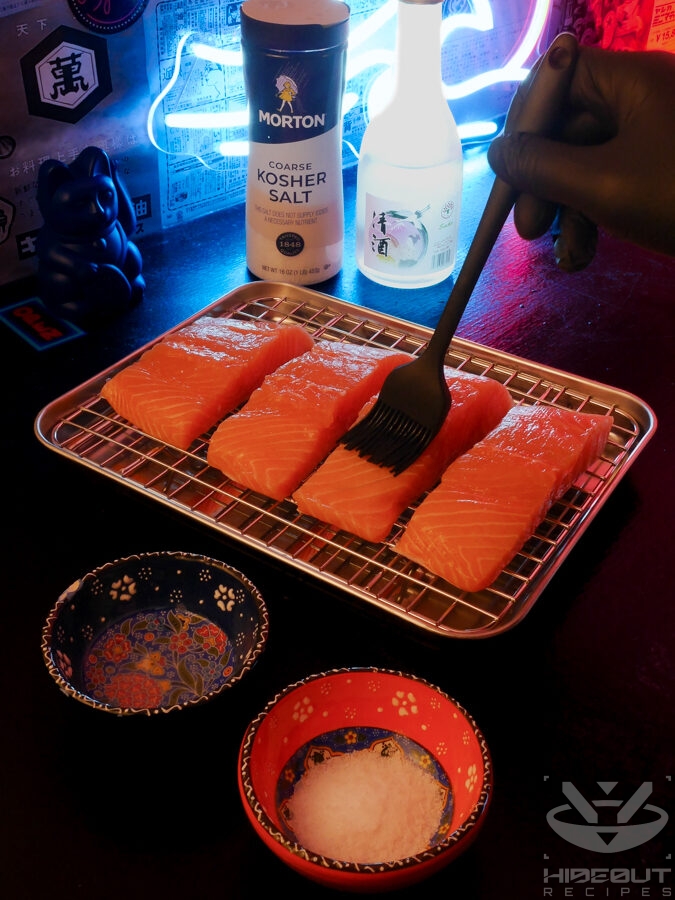
- Lay the salmon fillets out on a tray and coat with sake. Let rest for 10 minutes.
- Pat salmon dry.
- Rub all the salt on the salmon, starting with the skin. (It may seem like a lot, that's alright!)
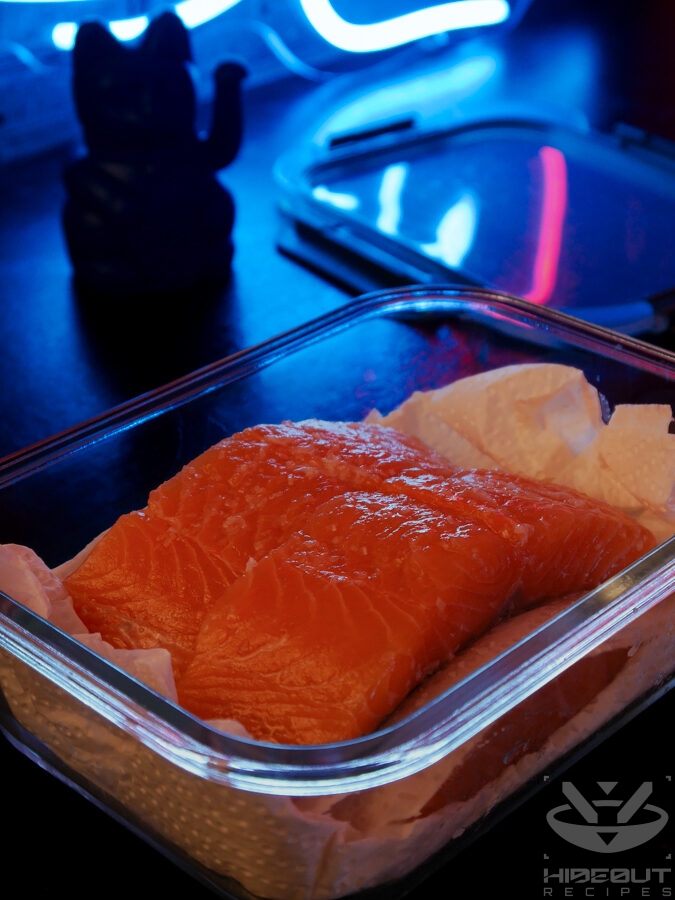
- Place a paper towel in an airtight container, place the salmon inside.
- Place another paper towel on top, close the box and place in the fridge.


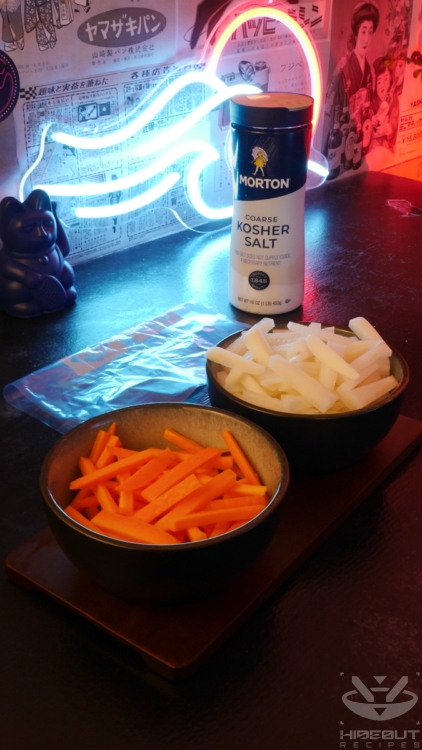
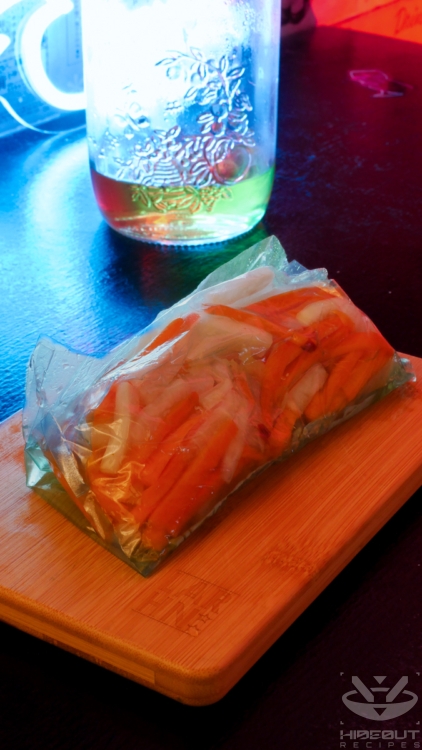
Pickle carrot & radish
- Peel and julienne the daikon and carrot.
- Place daikon and carrot in a freezer bag, add the salt and let it rest for a few minutes to draw out the moisture, then thoroughly squeeze out the excess water.
- Combine rice vinegar and sugar in a saucepan.
- Set to medium heat and bring to a boil while stirring, then turn off the heat.
- Once cooled, pour the brine into the bag and squeeze the lemon into it.
- Place the whole bag in the fridge (e.g. inside a bowl or airtight container).
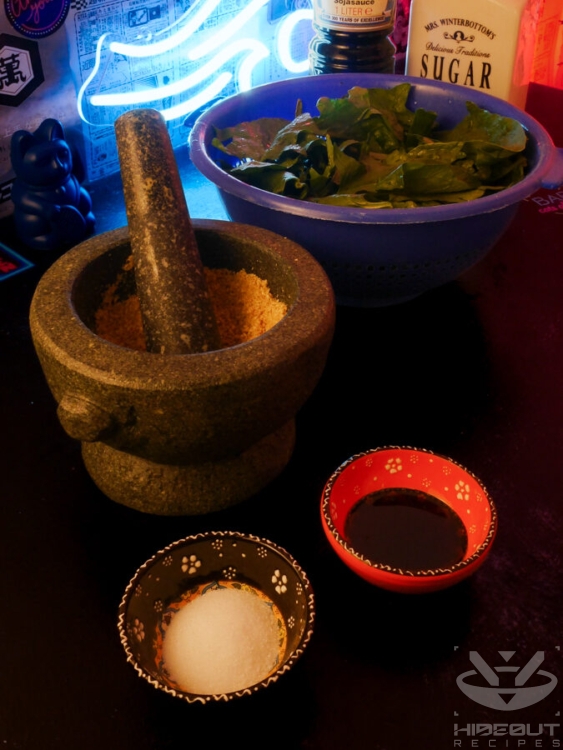
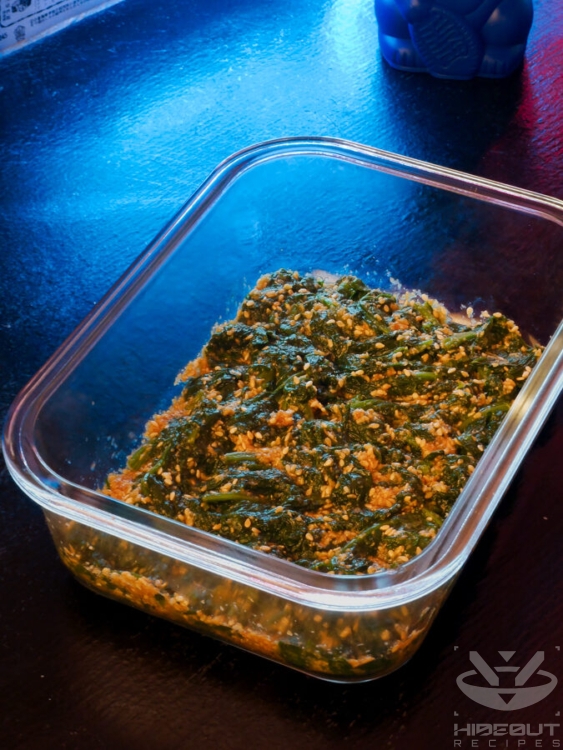
Make sesame spinach
- Briefly toast sesame seeds in an ungreased frying pan until fragrant.
- Grind the toasted sesame seeds in a mortar, leave some intact for texture.
- Add soy sauce and sugar, mix well and set aside.
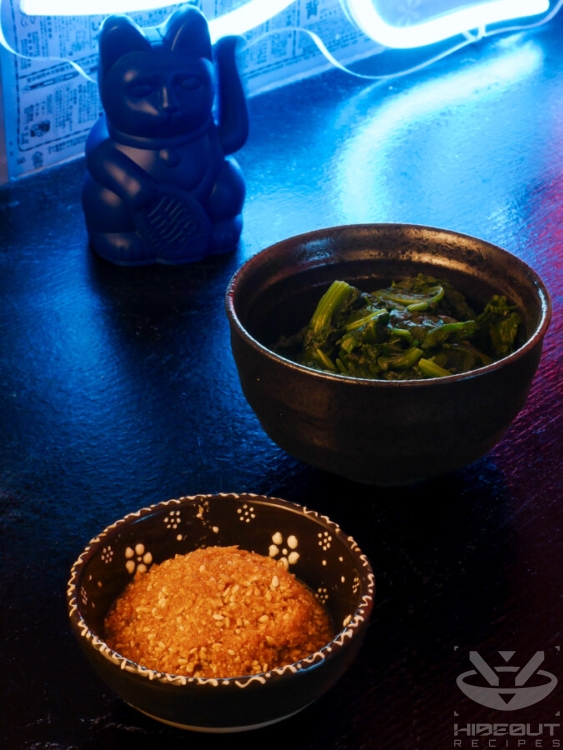
- Bring water to a boil in a pot. Once boiling, add salt.
- Cook the spinach for about a minute, then immediately cool off in cold water.
- Cut the spinach into 2.5 cm long chunks, then mix with sauce in an airtight container. Store in the fridge.

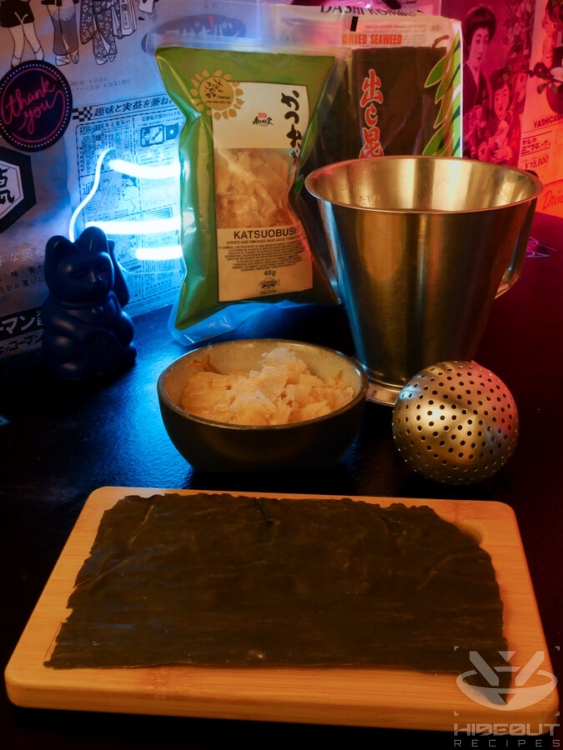
Make dashi
- Put water into a pot and let kombu soak in it for 30 minutes.
- Slowly bring to a boil, this should take around 10 minutes.
- Once boiling, remove kombu and add katsuobushi instead, let boil for 10 seconds.
- Take off the heat and let katsuobushi soak for 10 minutes.
- Pour broth into a mason jar. Use a sieve or cheese cloth to get rid of impurities if you want.
- Let cool to room temperature, then store in the fridge.
The night before
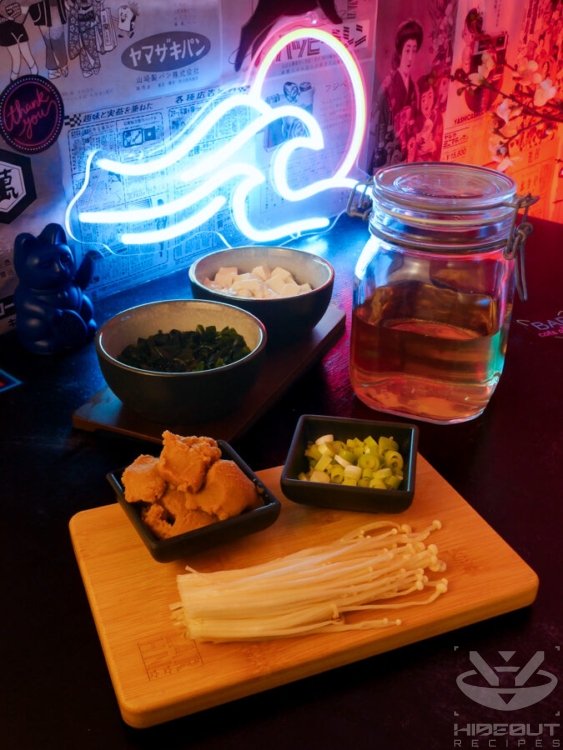
The night before your breakfast, there’s just a handful of things to do. First, you move a pack of natto from the freezer to the fridge. Done. Next, you prepare all ingredients for the miso soup:
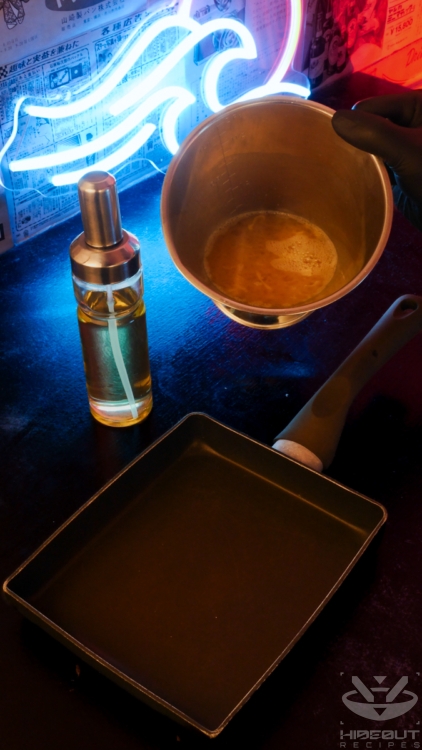
Finally, you can already mix the Tamagoyaki ingredients (but only the amount of servings you plan to make the following day) to save a little more time in the morning. Half an omelet per person should be enough. If you want more detailed instructions, check out my dedicated Tamagoyaki recipe!

Japanese Breakfast: The night before
Instructions
- Move a pack of natto from the freezer to the fridge.
- Prepare the desired amount of Tamagoyaki ingredients for the next day (I recommend half an omelet per person). If you want more information on this dish, check out my dedicated Tamagoyaki recipe linked above!In short: Crack the eggs into a bowl and give them a long stir, thoroughly breaking up the yolks and whites. Mix all seasoning ingredients together, then mix with the egg. Store it in the fridge, ideally in a jug with a spout for easy pouring in the morning.
- Dice half a block of silken tofu and slice half a scallion into thin strips for one breakfast's worth of miso soup. Store in the fridge as well using bowls or airtight containers. (I recommend taking the remaining steps for the soup in the morning. The picture above shows everything just for completeness' sake.)
In the morning
Now it’s finally time to put everything together!
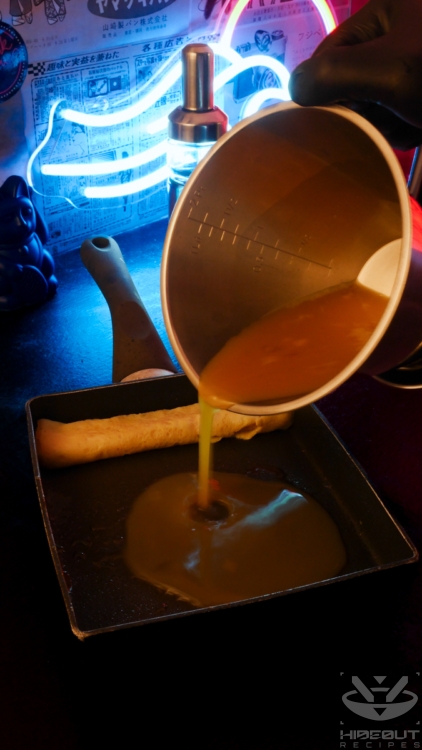
The only dish you may find a little tricky is the Tamagoyaki, so I decided to post a dedicated recipe for it featuring step-by-step instructions and a few tips on how to get it right. If you’re having trouble with the rolling process, I recommend watching a quick video tutorial to get the idea. The good news is that if it breaks apart here and there, you can usually fix it pretty easily. Patch it up by adding some extra egg mixture, and make sure the prettier side faces up in the end.
Japanese breakfast: In the morning
Instructions
Cook the rice
- Wash the desired amount of rice and pop it into the rice cooker. (0.25-0.5 cup of dry rice per person will be enough.)
Salmon
- Preheat the oven to 225° C and set it to grill if available.
- Line a baking tray with aluminum foil, and brush with neutral-flavored oil.
- Place the salmon fillets on it, skin facing down.
- Put the tray into the 2nd-highest position and let the salmon grill for 15-18 minutes.
Miso soup
- (The following measurements are for one 2-person breakfast, i.e. half of the total you shopped. You can make all miso soup now if you're going to eat the rest today or tomorrow, but I recommend only preparing the amount of servings you will eat immediately.)
- Reconstitute 0.5 tbsp dried wakame in water.
- Cut off the inedible bottom part of half a bunch of enoki mushrooms, then pull them apart into smaller bunches.
- Heat up ~450ml of your dashi, stir in 2tbsp miso paste until properly dissolved. Don't let the soup boil, keep it at a low simmer.
- After two minutes, add prepared wakame, tofu, mushrooms, and scallions. Let simmer for another three minutes.
Tamagoyaki
- Make the desired amount of Tamagoyaki. I recommend half an omelet per person.Check out my dedicated Tamagoyaki recipe (linked above) for more detailed instructions!
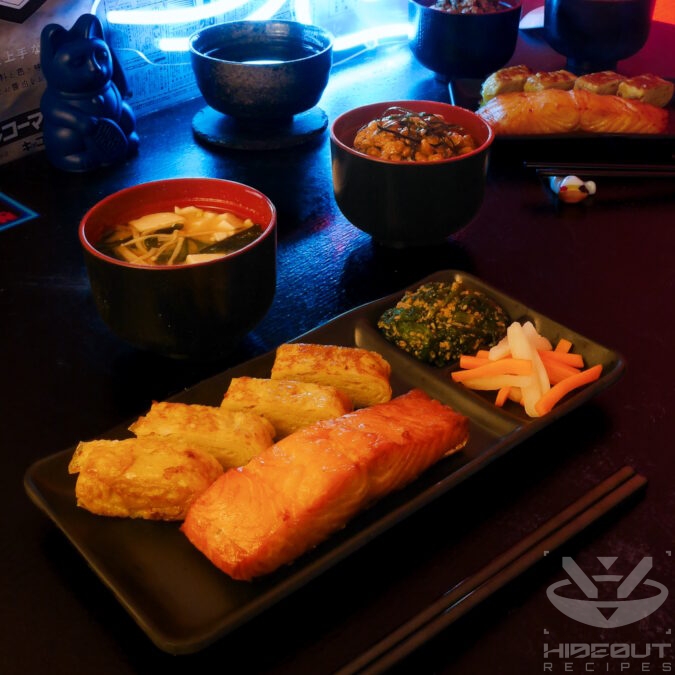
Serve!
- Get ready for each person: one bowl for the soup, one bowl for the rice, and one plate (or one each) for the salmon, Tamagoyaki, sesame spinach, and pickled veggies.
- If you want to make some green tea (or a hot beverage of your choice), do it now.
- Cut the Tamagoyaki into slices of 1.5 centimeters, distribute one serving (half an omelet) to each plate.
- Take the salmon out of the oven when it's nice and crispy, and put one fillet on each plate.
- Add one serving of pickled veggies and one serving of sesame spinach to each plate.
- Put one serving of miso soup into each soup bowl.
- Take the pack of natto out of the fridge and open it. Mix the two seasoning packets into the beans.
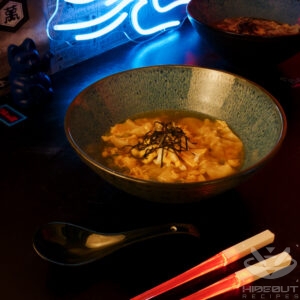
- Put one serving of rice into each rice bowl. Top each rice bowl with half a pack of seasoned natto, followed by a few decorative slices of kizami nori. (They will wilt quickly in the humid heat of the rice, so do this right before serving.)
- Enjoy!