
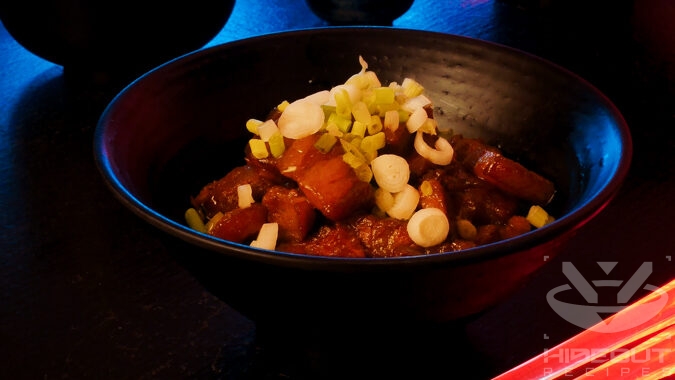
The sweetest, most tender pork belly you’ve ever had, using the most fail-safe and low-effort recipe. Dangerously addictive!
Oh no. I’m going to be fat, aren’t I.
A Patron after taking the first bite
Major improve(n)ment
Let me start by saying that this is not exactly an authentic Kakuni recipe. It’s made in the oven instead of on the stove (because it’s less hassle), the slices are smaller (to make them bite-sized and less chewy), and there’s garlic in it (because that’s never a mistake).
That being said, I tried a few different pork belly recipes in a pan or wok (Japanese or otherwise), but I’ll never go back since I discovered the oven-braised method. It’s much more low-maintenance with better results in my opinion. I love the simple, fail-safe process, the incredibly tender texture of the meat, and the intense, sweet taste of the sauce amplified by the fat. If you’re on the fence about pork belly in general, I can assure you that hours of braising removes all the chewiness, and leaves only a hint of that porky taste you might be afraid of.
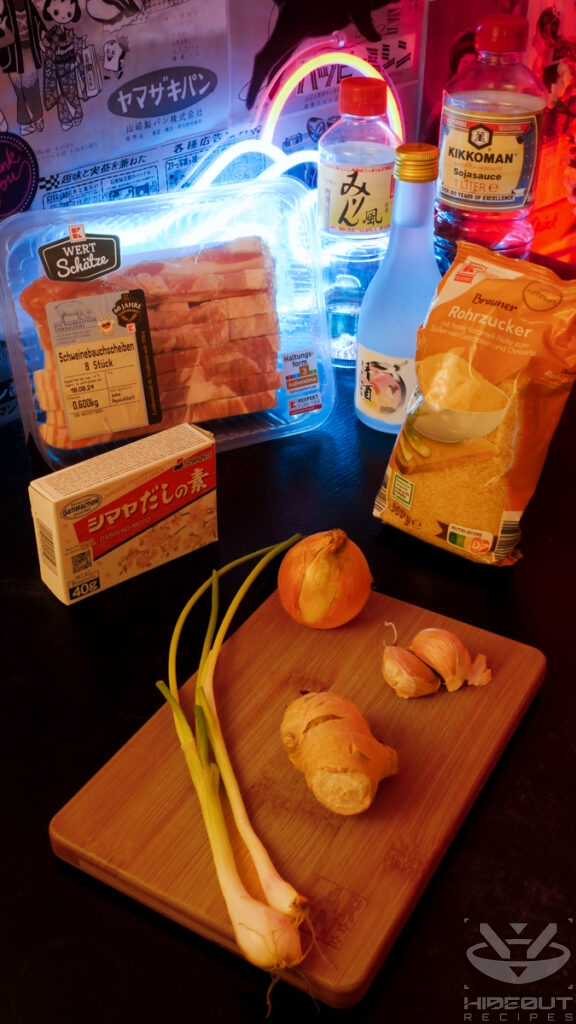
On the ingredients
Most importantly, it’s much easier to work with pre-cut 1-2cm thick strips of pork belly – as pictured – rather than a whole slab of it (which also often contains bones that you’d need to remove). As for side dishes, besides rice obviously, Kakuni is often enjoyed with eggs. Feel free to add some veggies as well if you don’t want to eat pure fat, carbs, and sugar like I did.
One final note before getting started: It is important that you use a relatively small cast-iron pot so all the pork belly slices and the aromatics are submerged in the liquid while simmering.
Recipe credit
Like most of my recipes, I started this one out by basing it largely on an existing one, specifically this Kakuni recipe by elanneboake on TikTok. I’ve since practiced it many times, made changes to the ingredients and steps (sometimes very few, sometimes many), and written up as much additional advice as I could based on my own experience.
I also want to shout out Gonpachi Nishi-Azabu, the “Kill Bill Izakaya” in Tokyo where I had excellent Kakuni. Yes, it’s touristy, but the food quality is great!

Oven-Braised Kakuni
Equipment
- 1 cast-iron pot with a lid
- 1 medium-sized skillet ideally heavy, e.g. cast iron or carbon steel
- 1 spice ball optional
Ingredients
- 500 g pork belly
- 1 small onion about 50g each
- 70 ml sake
- 2 tbsp mirin
- 70 ml light soy sauce
- 60 g cane sugar or brown sugar
- 3 cloves garlic
- 1 knob ginger
- 0.5 packet dashi powder
- 250 ml water
- 2 green onions
Side dish
- 200 g Japanese short-grain rice uncooked
Instructions
Preparation
- Mix the appropriate amount of dashi powder (indicated on the packaging) into 250 ml (1 cup) of water (per 2 servings) and stir to dissolve.
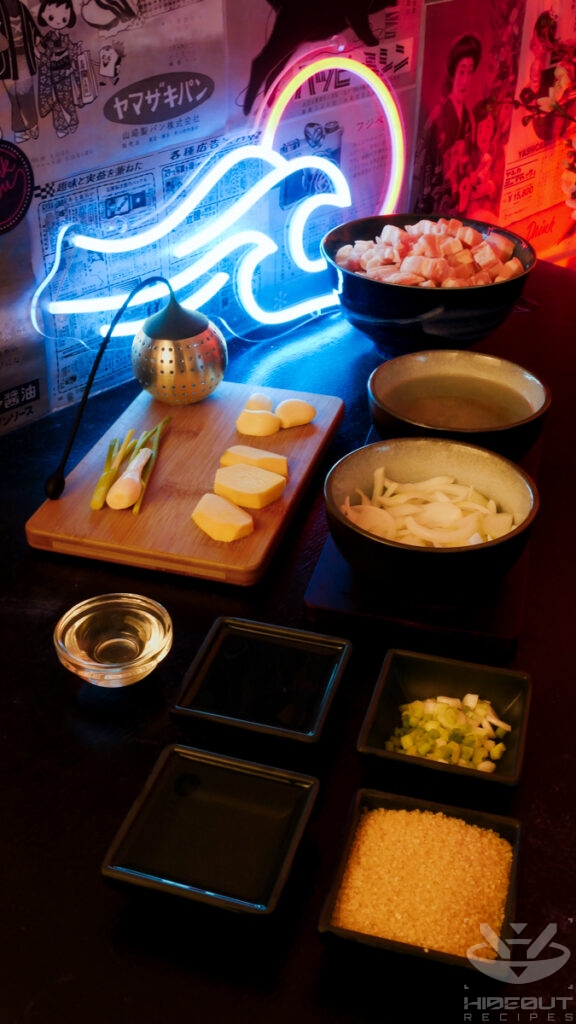
- Cut the ginger into large slices (peel first if you prefer).
- Peel the garlic cloves.
- Cut one of the green onions into 5 cm pieces.
- Thinly slice the remaining green onion(s) for garnish at the end.
- Optional: Put the aromatics (sliced ginger, long green onion pieces, and peeled garlic) into a spice ball.
- Peel and then thinly slice the onion.
- Mix the soy sauce, mirin, and sugar together in a bowl. Stir and set aside.
- Pre-heat the oven to 150°C (300°F).
Sear the pork belly
- Cut the pork belly into slices. I like very small bites at about 5 cm wide (and ~2 cm thick), but feel free to adjust to your liking. Keep in mind they will shrink in the process.
- Put a heavy skillet (e.g. cast iron or carbon steel) on the stove and turn the heat to medium high.
- Add the pork belly (without additional oil) until nicely browned.
- Take out the pork belly. Put it in your cast-iron pot and set aside.
Make the sauce
- Remove any leftover fat from the pan you used to brown the pork belly. Wipe down or rinse if necessary.
- Turn to medium high heat and add onions. Once they turn fragrant, deglaze with sake.
- Pour in the mixture of soy sauce, mirin, and sugar.
- Let it reduce over medium low heat for about five minutes.
Oven-braise
- Pour the sauce over the pork belly in the cast-iron pot.
- Pour in the dashi as well, and add the spice ball (or loose aromatics).
- Ideally, the pork belly slices and aromatics should now be completely submerged in the liquid. If they aren't, top up with water until they are.
- Put the pot in the pre-heated oven with the lid on and leave it there for three hours. (But come back a little earlier to make the rice!)
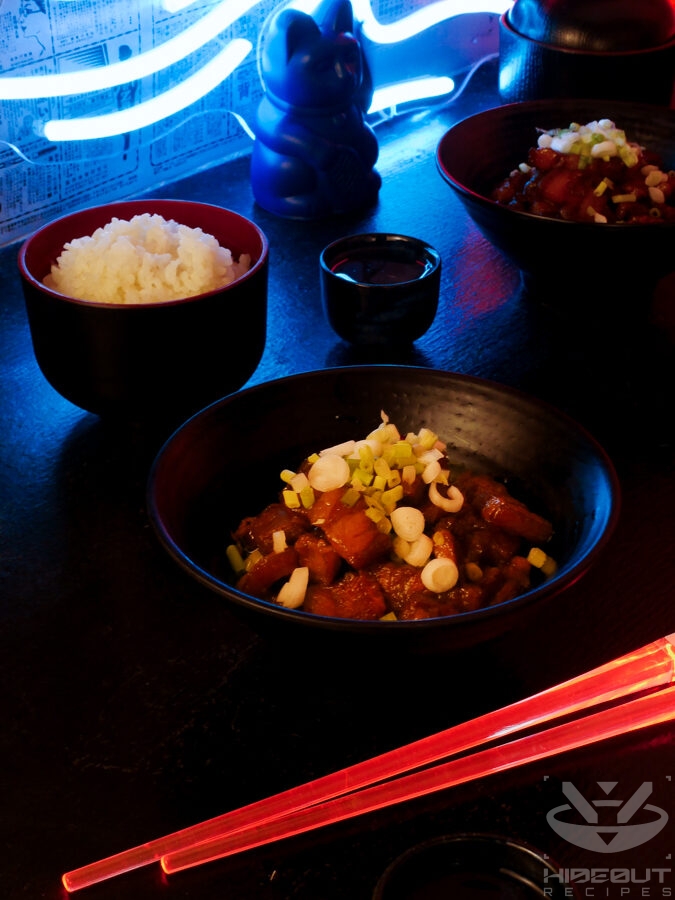
Serve
- Cook two servings of rice and distribute to bowls.
- Take the pork belly out of the oven. Add the slices on top of the rice or distribute to separate bowls or plates.
- Pour some of the sauce from the pan over the pork belly.
- Garnish with sliced green onions. Enjoy!


1 Comment
Pingback: Thai Red Curry – Hideout Recipes