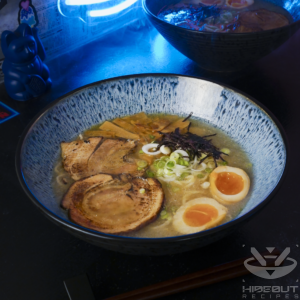
Ramen without the broth! No soaked toppings, burned tongue, or overcooked noodles – and no endless hours spent simmering bones. Give Abura Soba a shot, and it might just dethrone your favorite ramen.
The 🍜 in the title means this recipe is part of the Hideout ramen series. You need to prepare toppings and noodles to make it a full dish! All relevant recipes linked below.

Brothless ramen? More like left-me-breathless ramen.
A Patron
Even though I love ramen, I’m not really a soup guy. Eating it is always a mess, and the slurping noises are irritating. The broth is usually piping hot, yet you have to hurry before it overcooks the noodles into mush. All the toppings quickly get soaked and lose their texture, especially fried ones. Not to mention the fact that a proper broth can take hours to make (such as my beloved Tonkotsu).
Abura Soba solves all of these problems. No mess, no soggy toppings, no slurping or burning your mouth, and the noodles stay nice and chewy until the very last bite. It might just be my favorite way to enjoy ramen. And just to be clear: This does mean classic ramen noodles. The term “soba” often refers to buckwheat noodles, but not in this instance.
BYOB (Build Your Own Bowl)
While skipping the broth does cut down on the preparation time, I won’t lie to you: By the time you’re ready to serve up this dish, you will have spent about a full work day in the kitchen. This is why I recommend staggering the workload and making larger amounts of everything, so you can at least enjoy a few ramen dinners as a result of your efforts. Most of the various components linked below last well in the freezer, or at least a few days in the fridge.
Here’s how I recommend building your perfect bowl of Abura Soba:
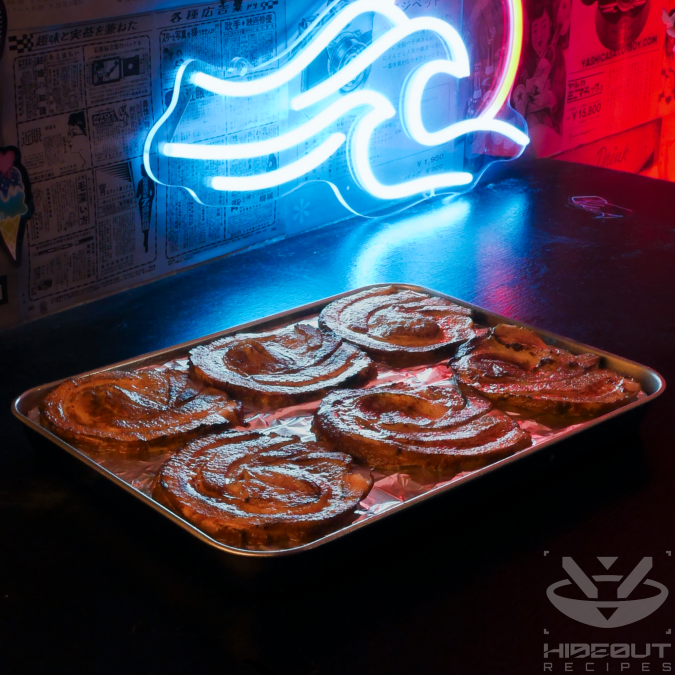
- Make chashu days or weeks ahead of time. Cut it, freeze it in portions. After thawing, blowtorch it.
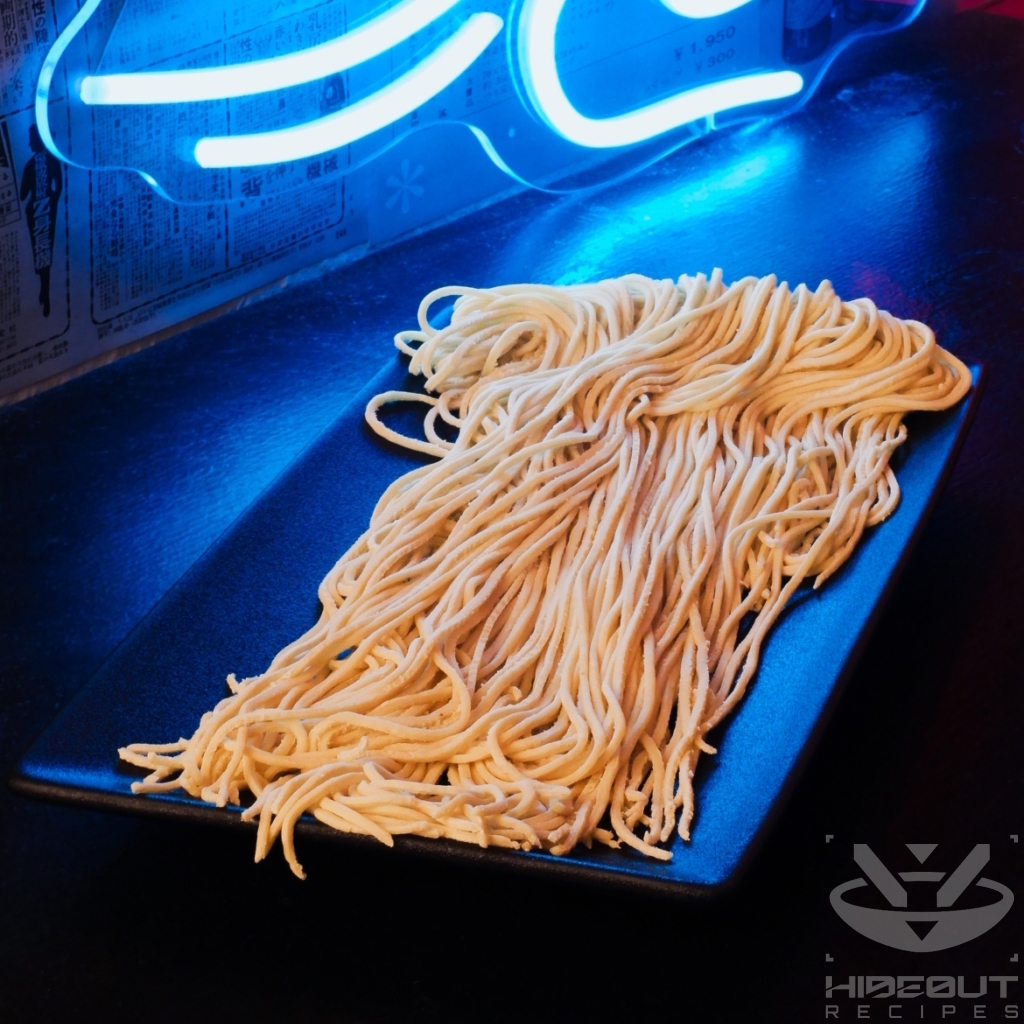
- Make fresh ramen noodles at least a day before. Keep in the fridge (or freezer if the wait is longer).
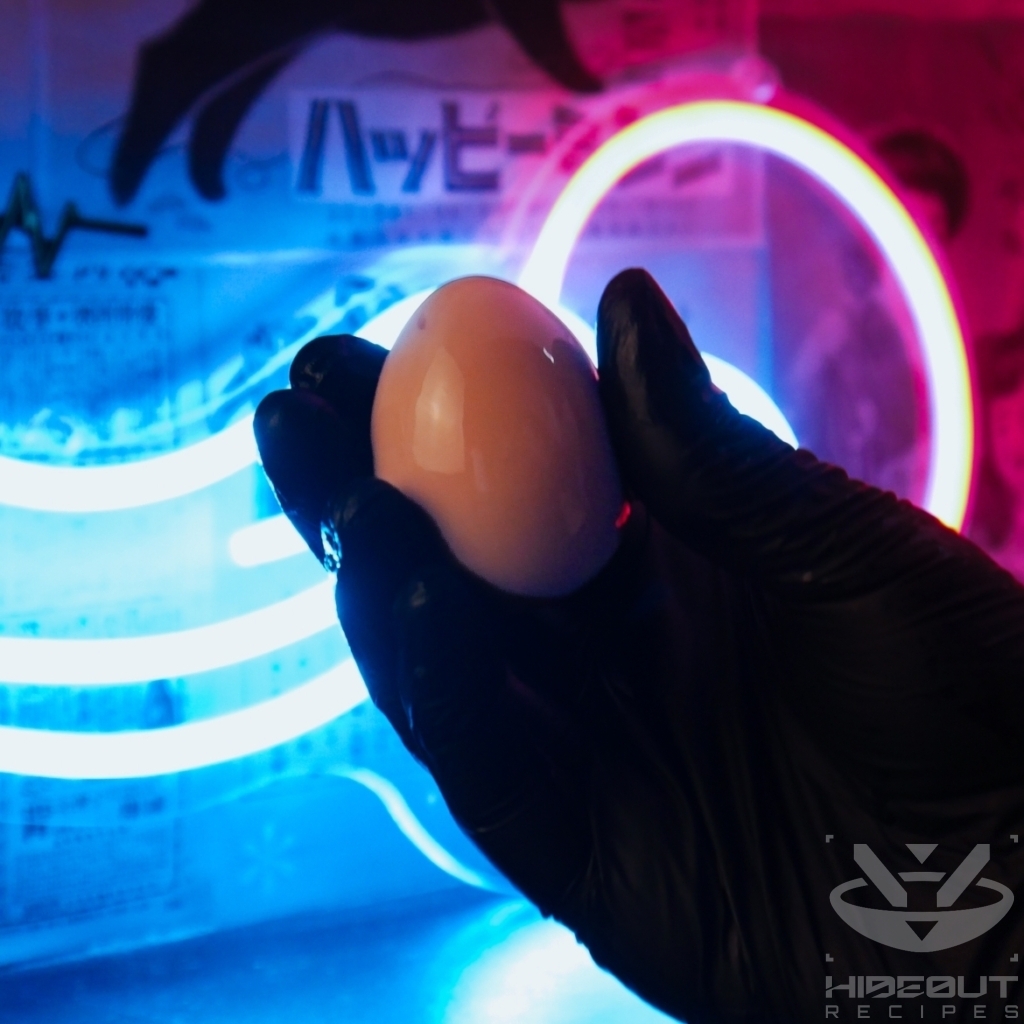
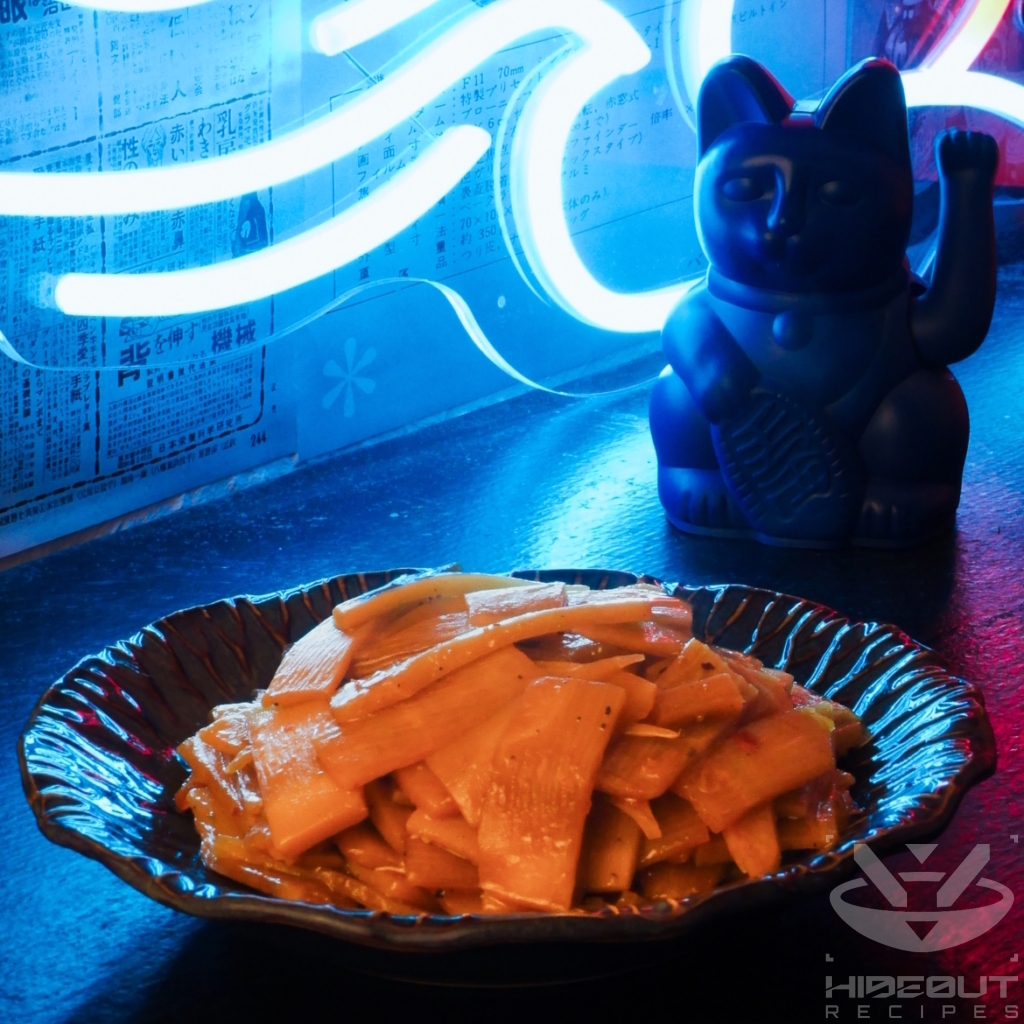
- Marinate some ramen eggs and prepare menma at least a day before. Keep in the fridge.
- On the day of, follow the recipe below. (The garlic paste can also be made a day before.)
This recipe is strictly about the sauce and putting together the prepared toppings. However, it’s always nice to slap on some additional easy toppings, such as kizami nori and sliced spring onions. I also like to add some microgreens such as garden cress. A sprinkle of La-Yu (chili oil) or Togarashi (spice mix) also never hurt anyone. If you have any of those handy, I highly recommend!
Recipe credit
Like most of my recipes, I started this one out by basing it largely on an existing one, specifically the sudachi Recipes Abura Soba. In this case, I’ve made quite a few adjustments to the process, including coating the noodles in the sauce first. This is how I’ve seen it done in Japan, and I much prefer it over having the sauce sit at the bottom of the bowl.
During my two-month stay in Tokyo in the summer of 2025, I ate out almost every day. The abura soba at Musashino Abura Gakukai Main Store in Waseda may have been my favorite meal of the entire trip. If you’re ever in the area, I cannot recommend it enough; I don’t know about their other locations, but they’re probably great as well.

Abura Soba 🍜
Equipment
- 1 pestle & mortar if making fresh garlic paste
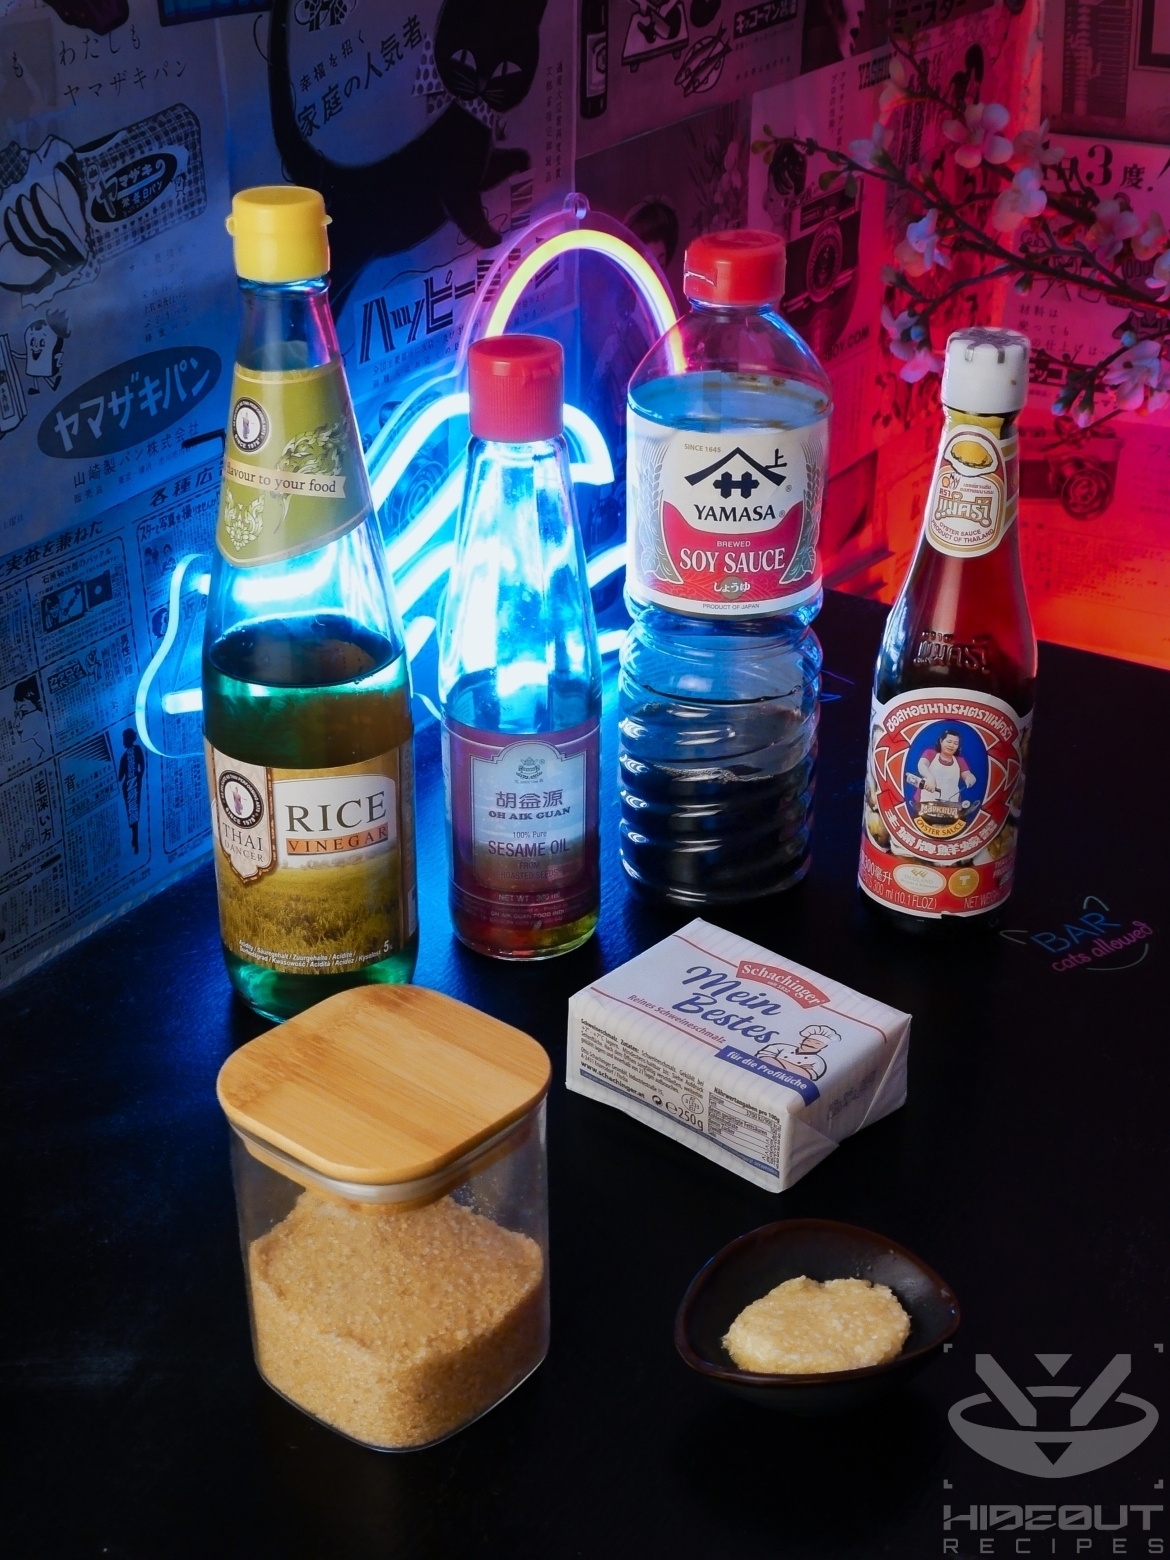
Ingredients
- 50 ml oyster sauce
- 50 ml light soy sauce
- 25 ml water
- 25 ml rice vinegar
- 20 ml toasted sesame oil
- 0.25 tsp chicken stock powder
- 1 tsp light brown sugar
- 2 tsp lard
Garlic paste
- 45 g garlic cloves
- 1.5 tsp neutral oil e.g. sunflower oil
- 1/8 tsp salt
Instructions
Make garlic paste
- Note: You can alternatively buy garlic paste from a tube, but fresh is better.
- Peel the garlic cloves and add to your mortar.
- Add the oil and salt.
- Slowly crush the garlic with your pestle and keep going until it's a smooth paste.Note: If making ahead of time, store it in a plastic container in your fridge.
Prepare sauce & bowls
- Pre-heat your oven to 75°C.
- Take out the bowls you will serve your ramen in.
- Put half a tsp of lard into each bowl.
- Thoroughly mix all the other sauce ingredients in a separate bowl, including the freshly made garlic paste (which should be around 5 tsp).
- Evenly distribute the sauce to your bowls.
- Put the bowls in the warm oven and leave them in there for a few minutes. The lard should fully melt, and the bowls should be hot enough to keep the ramen warm for a while.
Assemble
- While the bowls are heating up, boil your fresh ramen noodles. I recommend keeping the servings separate and using several pots, staggering them by a minute so they're not done at once.
- Add one serving of noodles to each warm bowl. Stir briefly to coat them in the sauce, be careful not to break them.Note: Look, I know the bowl is all smeared and the noodles are tangled. If you prefer folding the noodles neatly and pouring over the sauce for aesthetic reasons, I'm not going to stop you.
- Add the ramen toppings of your choice and serve immediately.