A deep and intense pork broth that needs a full day of boiling for ideal results. Works best with freshly made noodles and toppings.
The 🍜 in the title means this recipe is part of the Hideout ramen series. You need to prepare toppings and noodles to make it a full dish! All relevant recipes linked below.
Maybe I’ve been the pig all along.
A Patron after their 3rd bowl
All in a day’s work
You’ll prepare three liquids for this recipe: the bone broth (which needs to boil all day); the dashi (which in this case should be cold-brewed); and the tare (a salty sauce that is added to each bowl in small amounts at the very end).
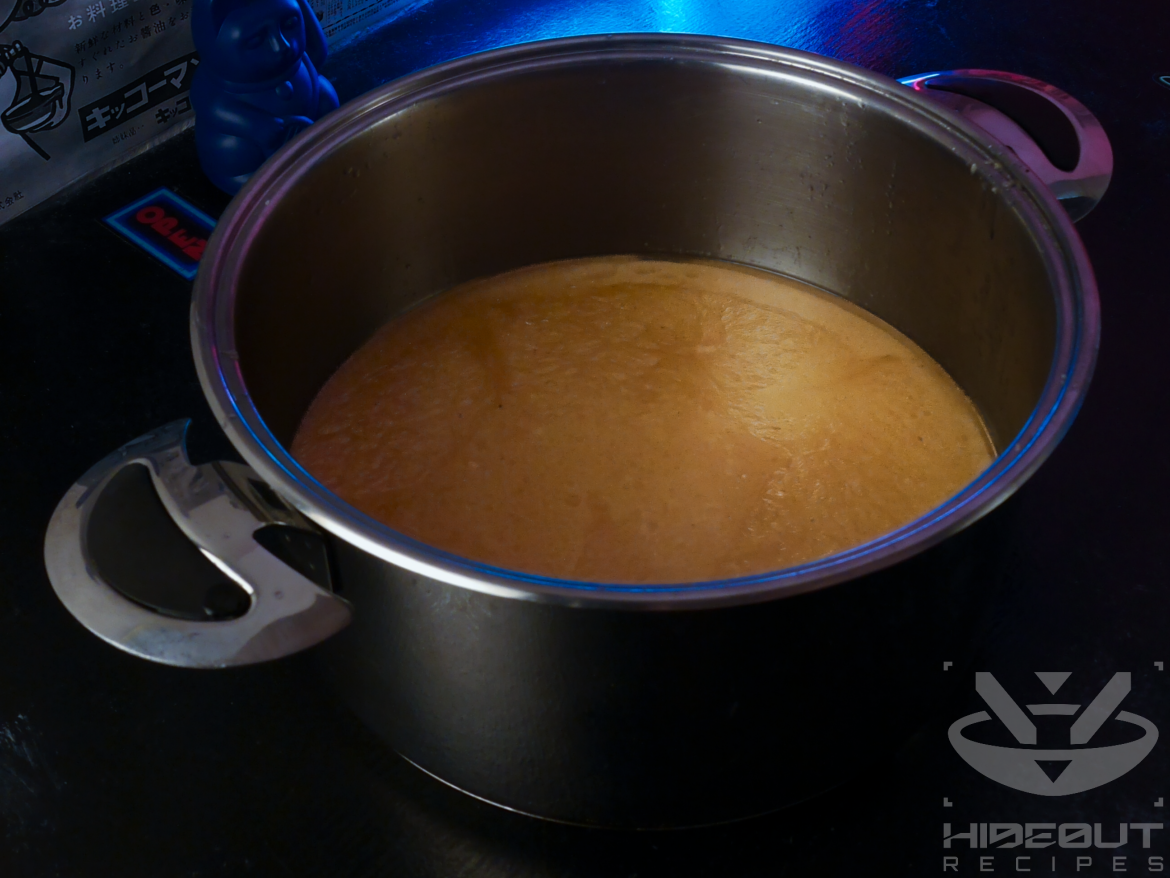
As you can see in the photo, the final broth should come out very cloudy. This photo was taken after I had strained it through a fine mesh already to remove larger debris. If you, like me, don’t have a pressure cooker, you need to simmer your Tonkotsu broth all day (or overnight) for a result like this. I recommend starting the broth in the morning and leaving it to boil for about 8 hours, then preparing your ramen bowls for dinner. Check in regularly during that time, and don’t forget that there is an extra hour of simmering time with additional ingredients at the end.
The tricky part of this recipe is getting the right amount of broth in the end. You want to evaporate just enough to go from ~3 liters to ~1.8 liters (4 servings), which is hard to judge with all the bones filling up the pot. One serving of broth in my recipe is about 450 ml, which is on the higher end; if your broth comes out at 350 ml per bowl, that’s totally fine as well. Keep in mind that you’ll add 500 ml of dashi in the final hour of boiling.
If it looks like you’re getting close to about 40% of the liquid having evaporated, just add a lid for the remainder of the time. If you believe that you already overshot, it’s totally fine to top up with more water – provided you don’t do it very close to the end. I wouldn’t recommend turning down the heat to reduce evaporation, as a strong boil is needed (for at least a good portion of the time) to break down the pork bones.
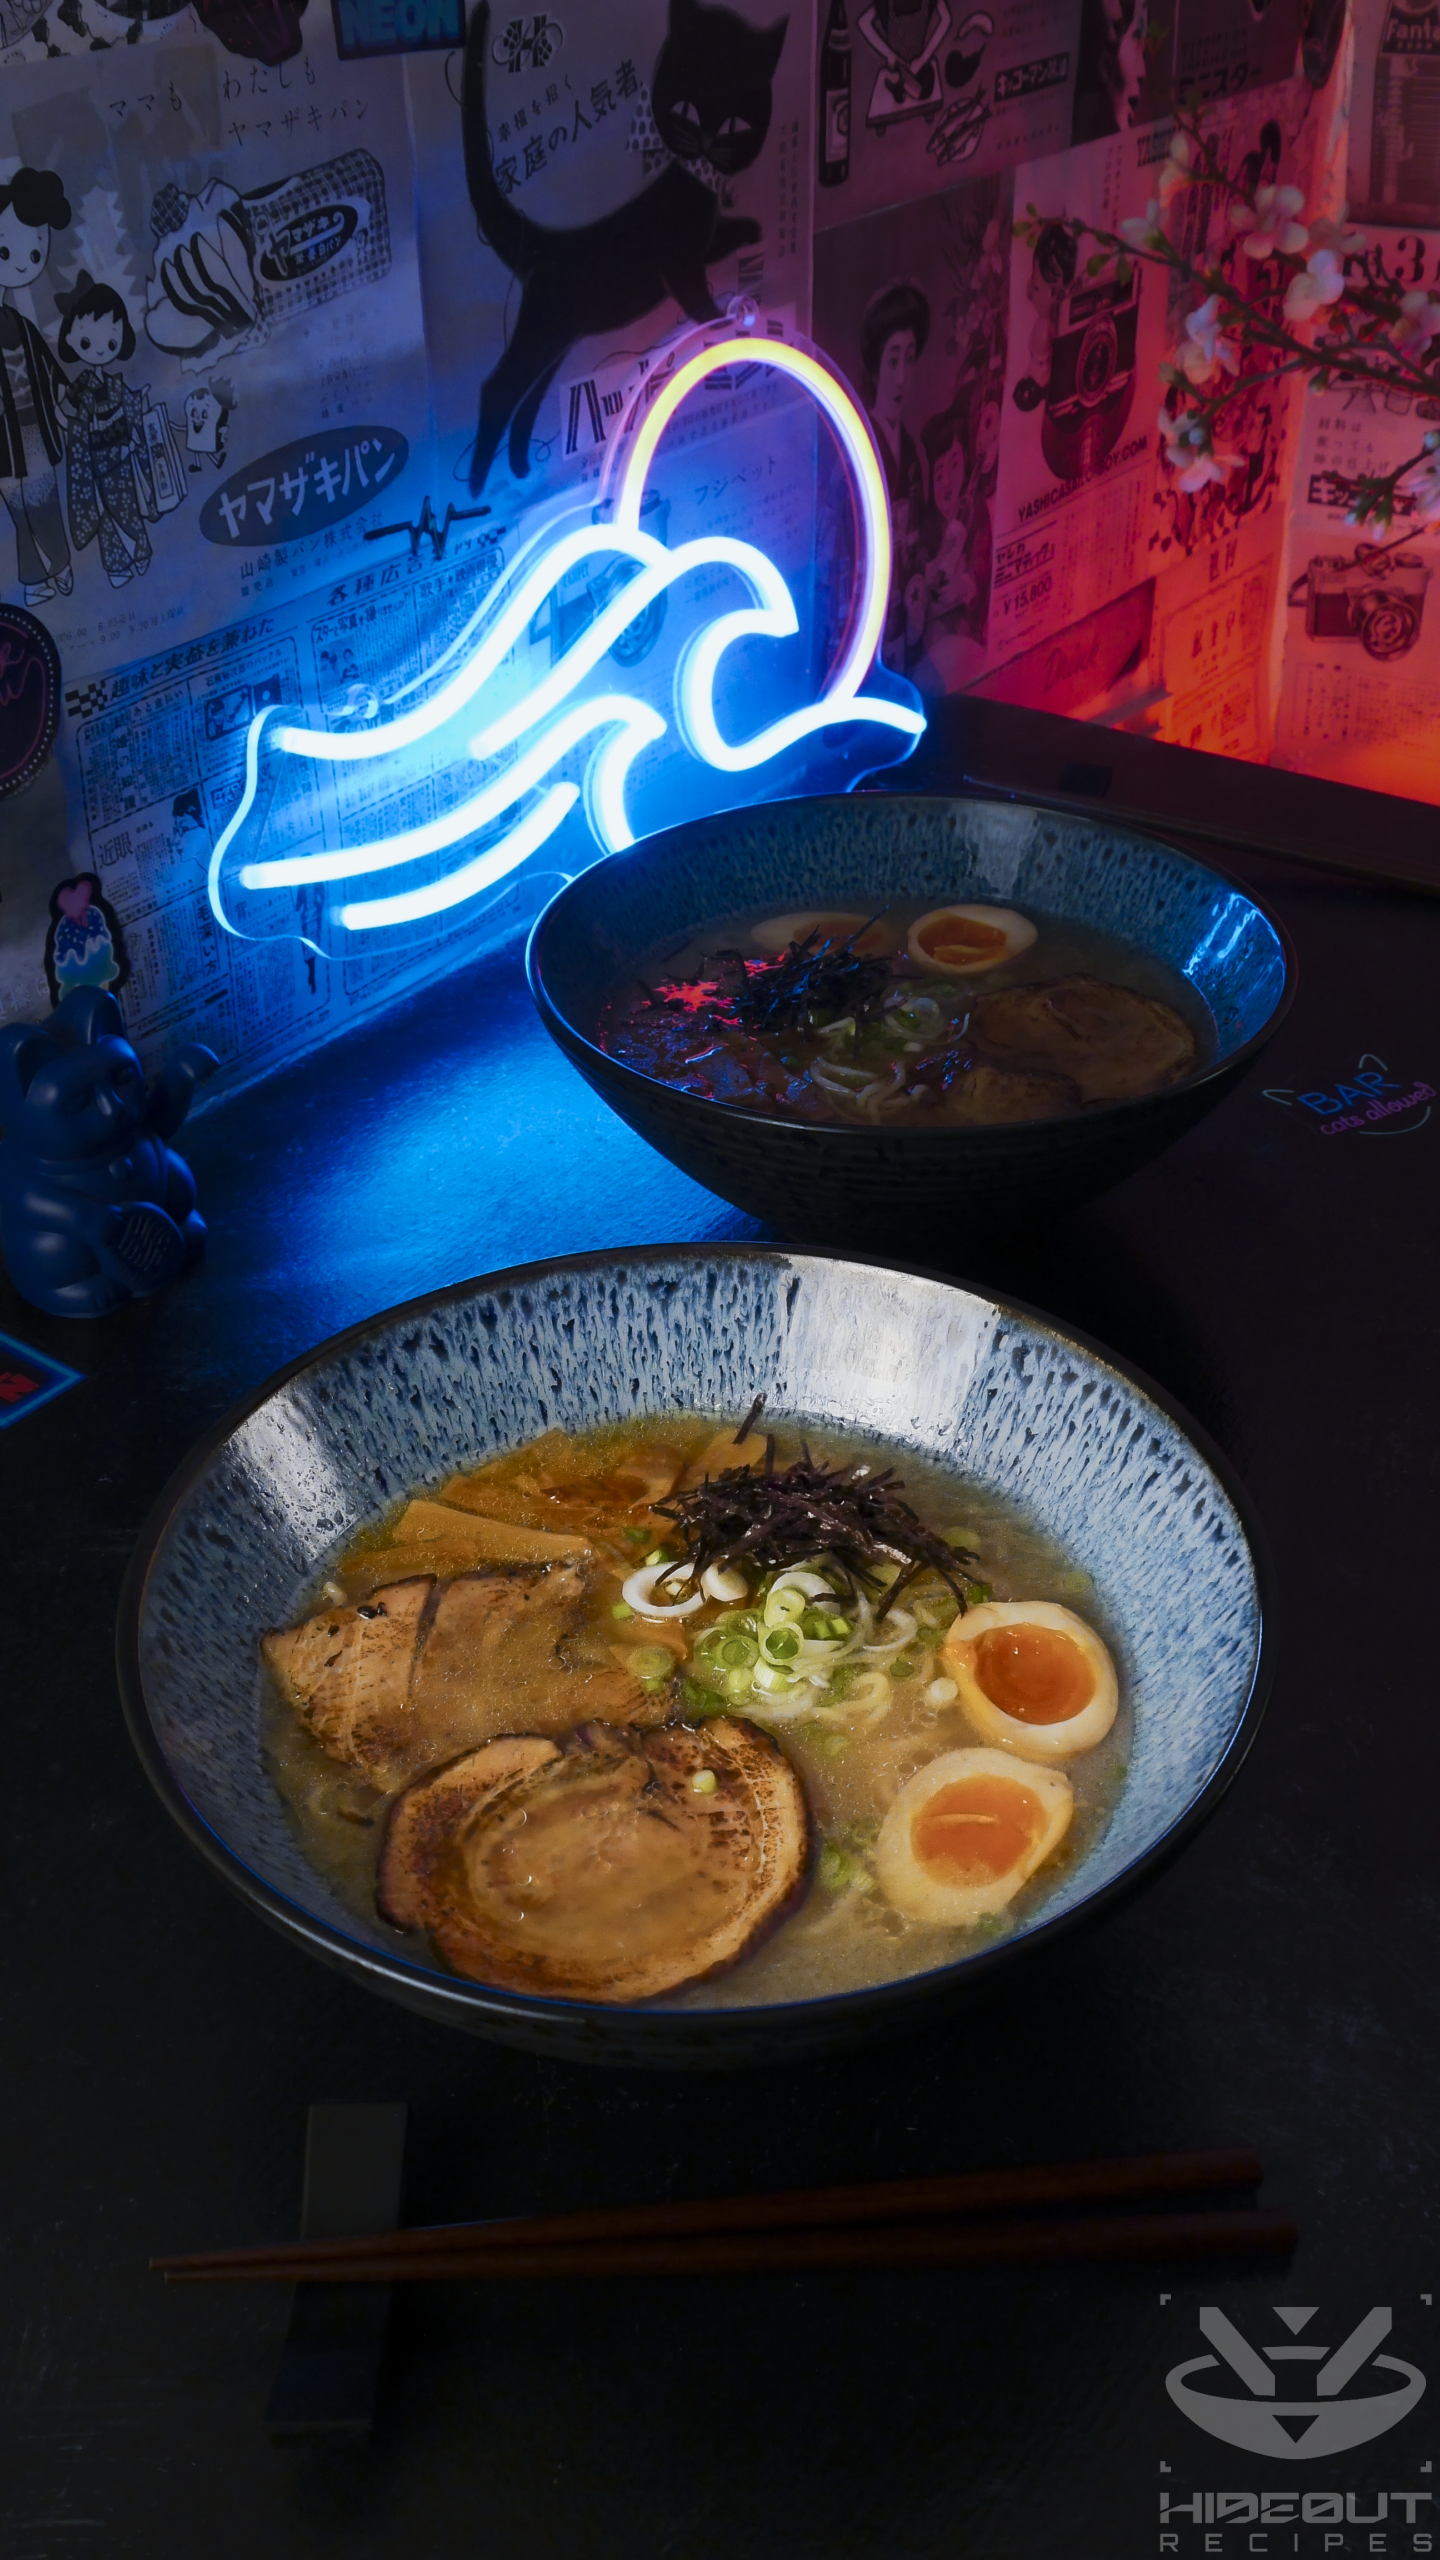
BYOB (Build Your Own Bowl)
This recipe presupposes that you already have a number of toppings as well as the noodles ready to go. When it comes to preparing those things, I recommend staggering the workload and making larger amounts, so you can at least enjoy a few ramen dinners as a result of your efforts. Most of the various components linked below last well in the freezer, or at least a few days in the fridge.
Here’s how I recommend building your perfect bowl of Tonkotsu Ramen:
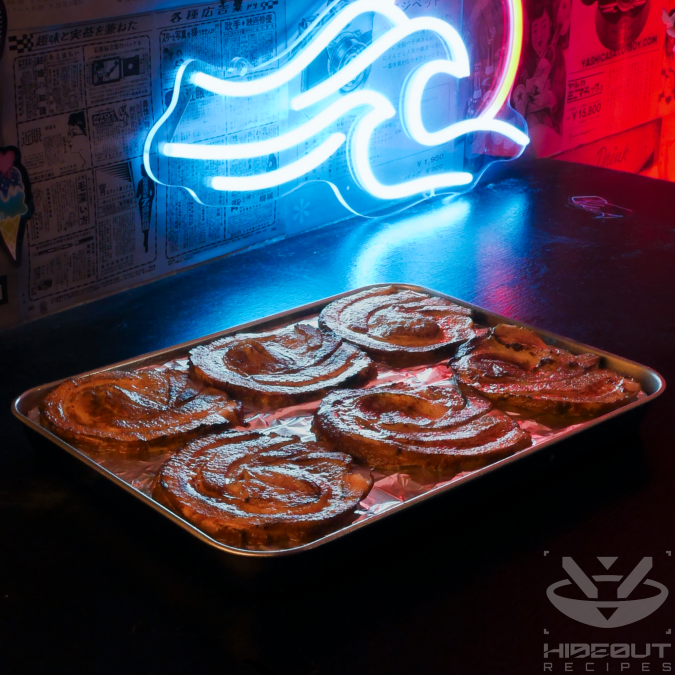
- Make chashu days or weeks ahead of time. Cut it, freeze it in portions. After thawing, blowtorch it.
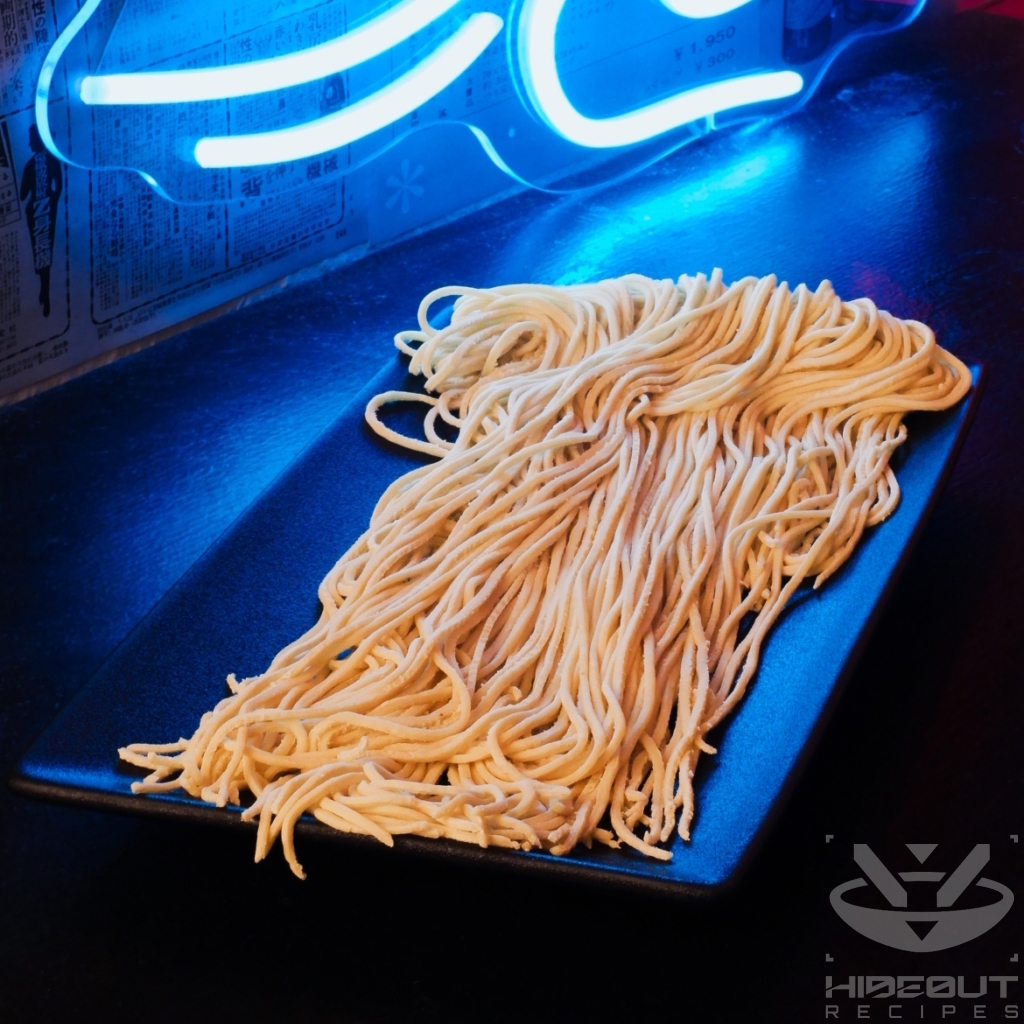
- Make fresh ramen noodles at least a day before. Keep in the fridge (or freezer if the wait is longer).
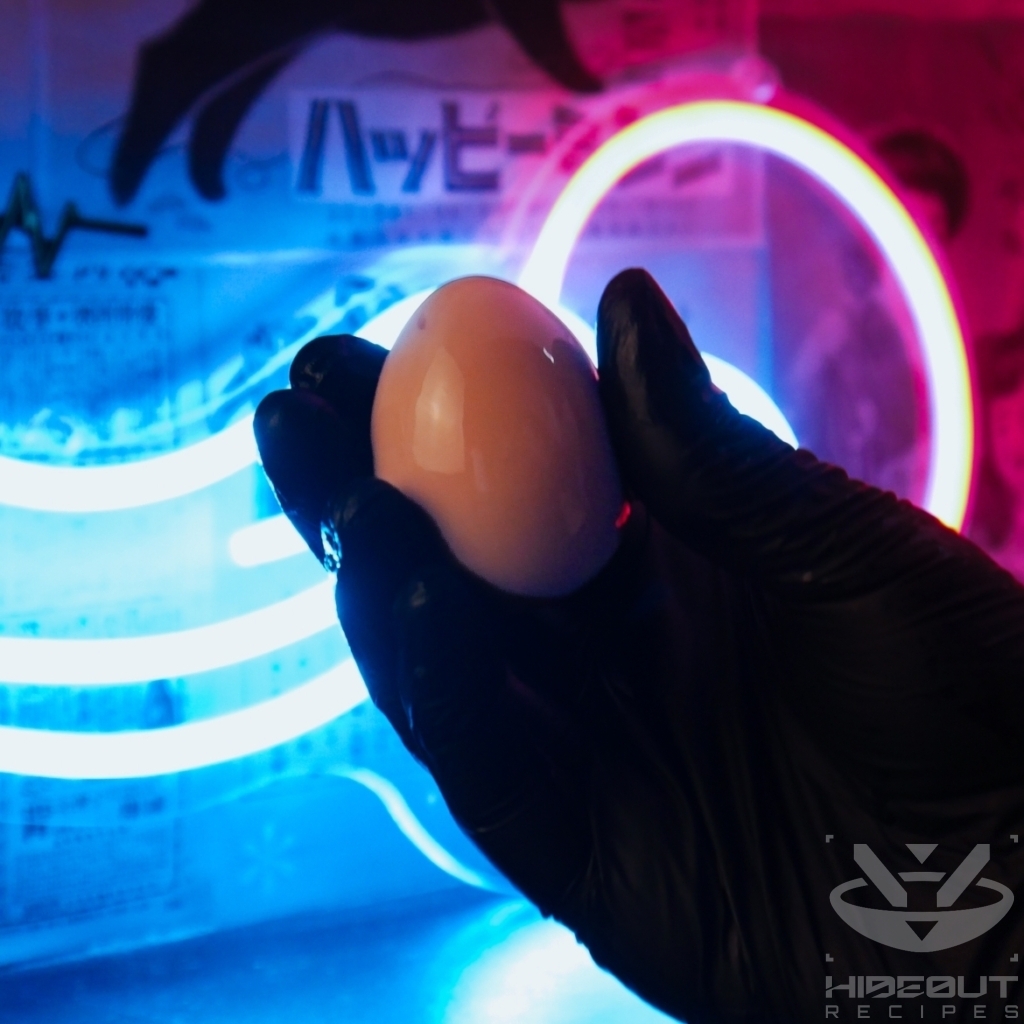
- Marinate some ramen eggs and prepare menma at least a day before. Keep in the fridge.
- If you want to have Tonkotsu Ramen for dinner, start the broth in the morning on that day.
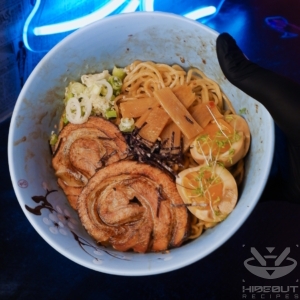
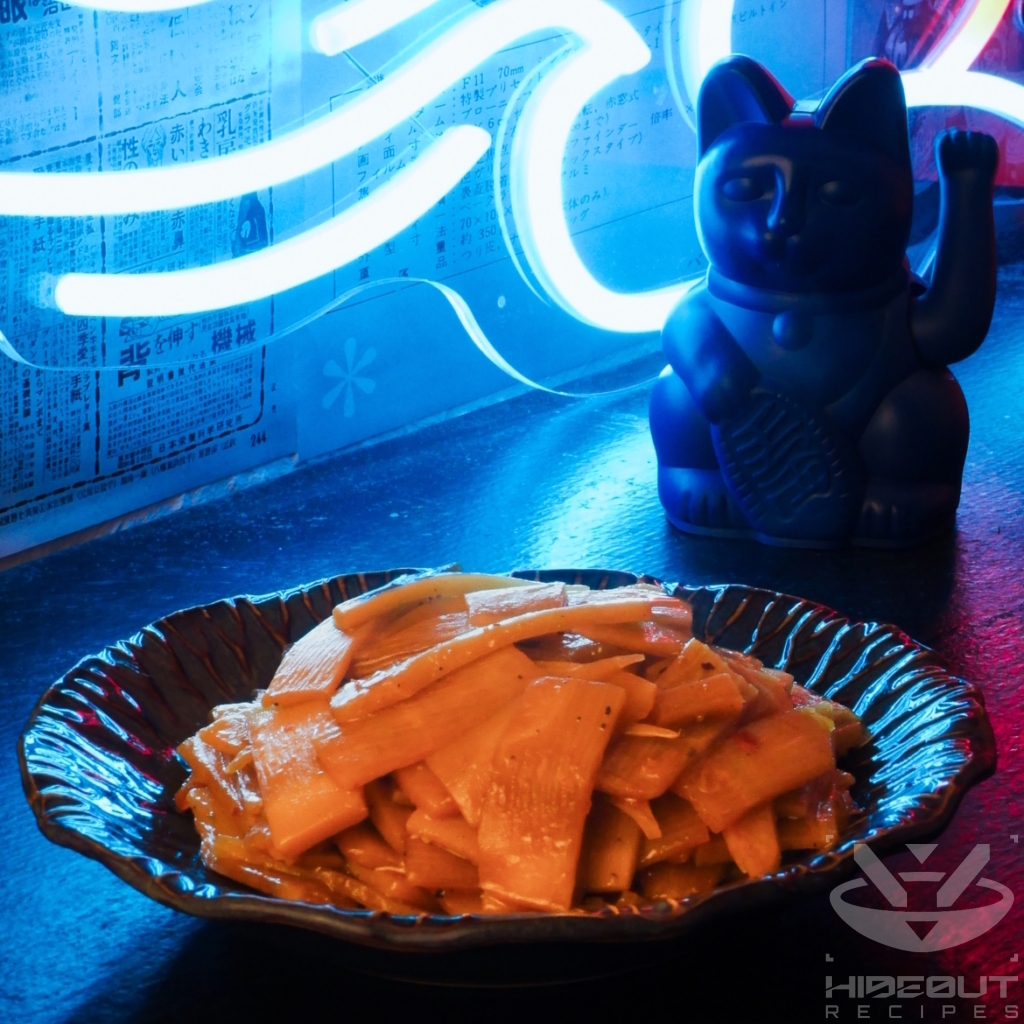
This recipe is strictly about making the broth and putting together the prepared toppings at the end. However, it’s always nice to slap on some additional easy toppings, such as kizami nori and sliced spring onions. I also like to add some microgreens such as garden cress.
Confidential seasonings
Be warned: The flavor of Tonkotsu is intensely porky – if you’re not a huge pork fan, maybe go with another broth (or just a sauce). Adding sake and vinegar takes away a bit of the sharpness, both of the smell and flavor, among other additional seasonings that subtly improve the end result. The Japanese have a term for them, kakushiaji, which roughly translates to “secret ingredients”. I’ve seen variations of them all over the Internet, with some recipes leaving them out completely. I quite like the selection made by the Just One Cookbook recipe, and stuck with it exactly.
Recipe credit
Like most of my recipes, I started this one out by basing it largely on an existing one, specifically the Just One Cookbook Tonkotsu recipe. In this case, I changed the measurements and timings quite drastically. I don’t own a pressure cooker, and adding just half a liter of water and two more hours of boiling, as the recipe suggests, does not yield the desired results at all. I’ve tried different amounts of water, different simmering times, and different ways to cover the pot to get it right.
The best Tonkotsu ramen I’ve ever had was at its birthplace, Fukuoka. We went to a Taiho Ramen location and had two variations – regular Tonkotsu and Kurume, which is a classic way to prepare the broth (named after the town it’s said to have originated from). Both were great, but the Kurume was hands down the best ramen broth I ever tasted.

Tonkotsu Ramen 🍜
Equipment
- 1 very large pot with a lid
- 1 large mesh strainer for straining the broth
- 1 additional medium to large pot for straining the broth into
- 1 fine-mesh skimmer
Ingredients
Broth
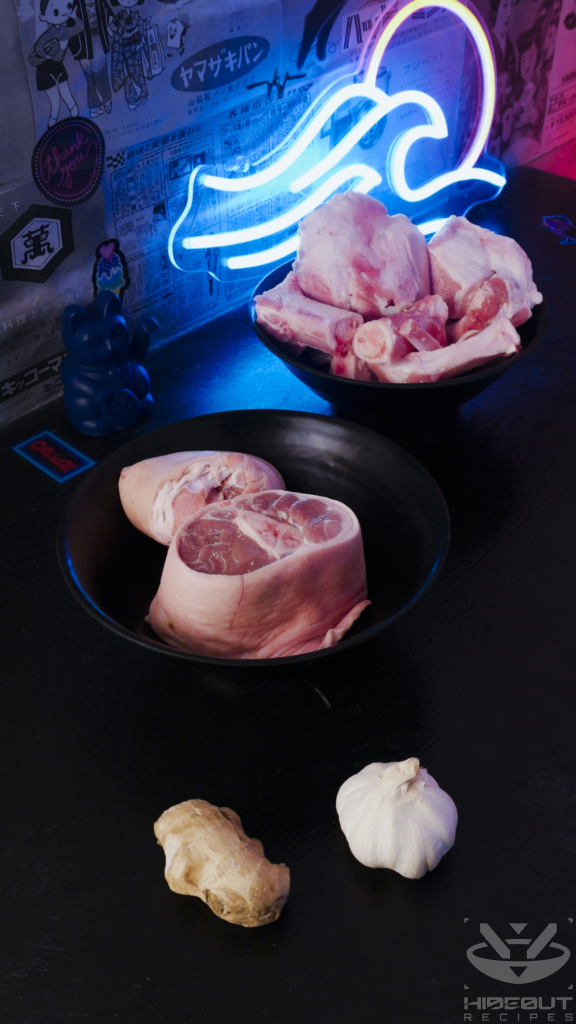
- 1.5 kg pork bones legs or back
- 600 g pork hock with skin
- 3 l water
- 1 head garlic
- 1 knob ginger large
Dashi
- 500 ml water
- 1 sheet kombu
- 2 shiitake mushrooms dried
- 5 dried anchovies or some katsuobushi
Tare
- 2 tbsp sake
- 2 tbsp mirin
- 4 tbsp soy sauce light
- 2 tbsp water
- 1 sheet kombu
- 25 g salt
Seasonings
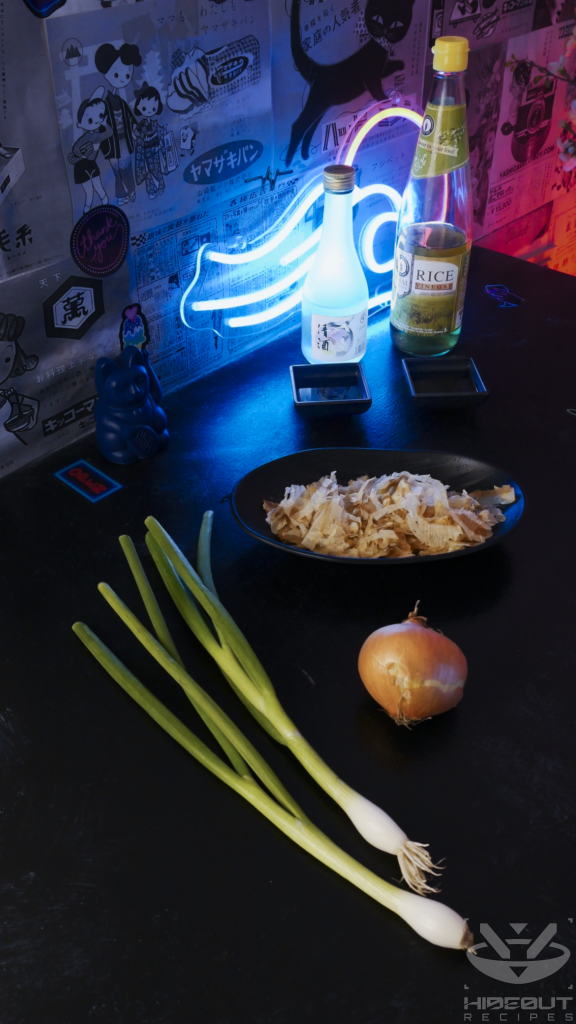
- 1 onion medium
- 2 green onions
- 10 g katsuobushi
- 2 tbsp sake
- 2 tbsp rice vinegar
Instructions
Make the broth
- Rinse the bones and pork hock under running water.
- Soak them in a bowl of water for a total of 15 minutes, replacing the water completely every 5 minutes.
- Peel the outermost layer off your head of garlic, then cut the entire head in half crosswise.
- Slice the ginger into thin slices. No need to peel.
- Place the cleaned bones, garlic, and ginger into a very large pot and add 3 liters of water. The ingredients should be fully submerged.
- Set to high heat and keep the lid off for now.
- Once it boils, reduce the heat to medium-high and keep at a rolling boil.
- Remove the scum using a fine-mesh skimmer. You'll need to do this multiple times (over the first half hour or so) before it stops gathering at the surface.
- The broth takes about 8 hours from here on out, but you need to check back regularly. Make sure that the broth is boiling (not just simmering) for a majority of that time.
- Once about 40% of the liquid has evaporated, cover the pot with a lid and turn the heat down a little. If you overshoot, you can top up with some water until the bones are fully covered again (but try to avoid this).
- Start the dashi cold brew (next steps) right after you started the broth. The tare and additional seasonings don't need to be ready until the 8 hours are up.
Cold brew the dashi
- Add the kombu, dried shiitake mushrooms, dried anchovies, and 500 ml of water to a small bowl.
- Keep at room temperature while your soup stock boils.
Make the tare
- Combine sake, mirin, soy sauce, kombu, and water in a small pot.
- Set to medium heat. Once it simmers, reduce to low and keep simmering for 3-4 minutes.
- Add the salt and stir well until it's fully dissolved.
- Set aside at room temperature.
Prepare seasonings
- Cut the onion in half and slice off the root end. No need to peel.
- Also cut the green onions in half crosswise.
Combine everything
- After the 8 hours are up, remove the lid. Make sure it's at a rolling boil throughout the remaining steps.
- Add the halved onion and green onions, rice vinegar, and sake to the pot.
- Take the shiitake mushrooms and anchovies out of your dashi cold brew and add them to the broth.
- Add 10 g katsuobushi and keep boiling for 30 minutes.
- Now add the dashi liquid (without the kombu) to the pot and boil for another 30 minutes.
- Careful not to let too much liquid evaporate. You want about 450 ml of broth per bowl (1.8 l for 4 servings), so put the lid back on the pot for the remaining time once you're in that ballpark.
Strain the broth
- I recommend putting your ramen bowls as well as the prepared toppings into the oven now and setting it to 75°C so they're all warm and ready to go in time.
- Take out another medium to large pot to strain the broth into and place a large mesh strainer on top.
- Take the solids out of the broth and squeeze them on the strainer (e.g. using a spatula) in order to extract the liquid into the new pot. Do this in small batches.
- Finally, pour the broth through the strainer, and squeeze any remaining solids that get caught in it.
Assemble
- Heat up the desired amount of broth servings (450 ml per person) in a pot and keep at a low simmer.
- Bring salted water to a boil for your noodles. I recommend keeping the servings separate by using one pot per serving.
- Take out the bowls and add 1 tbsp tare to each one.
- Add 450 ml of broth to each bowl.
- Boil your fresh ramen noodles. I recommend staggering them by a minute so they're not done exactly at once.
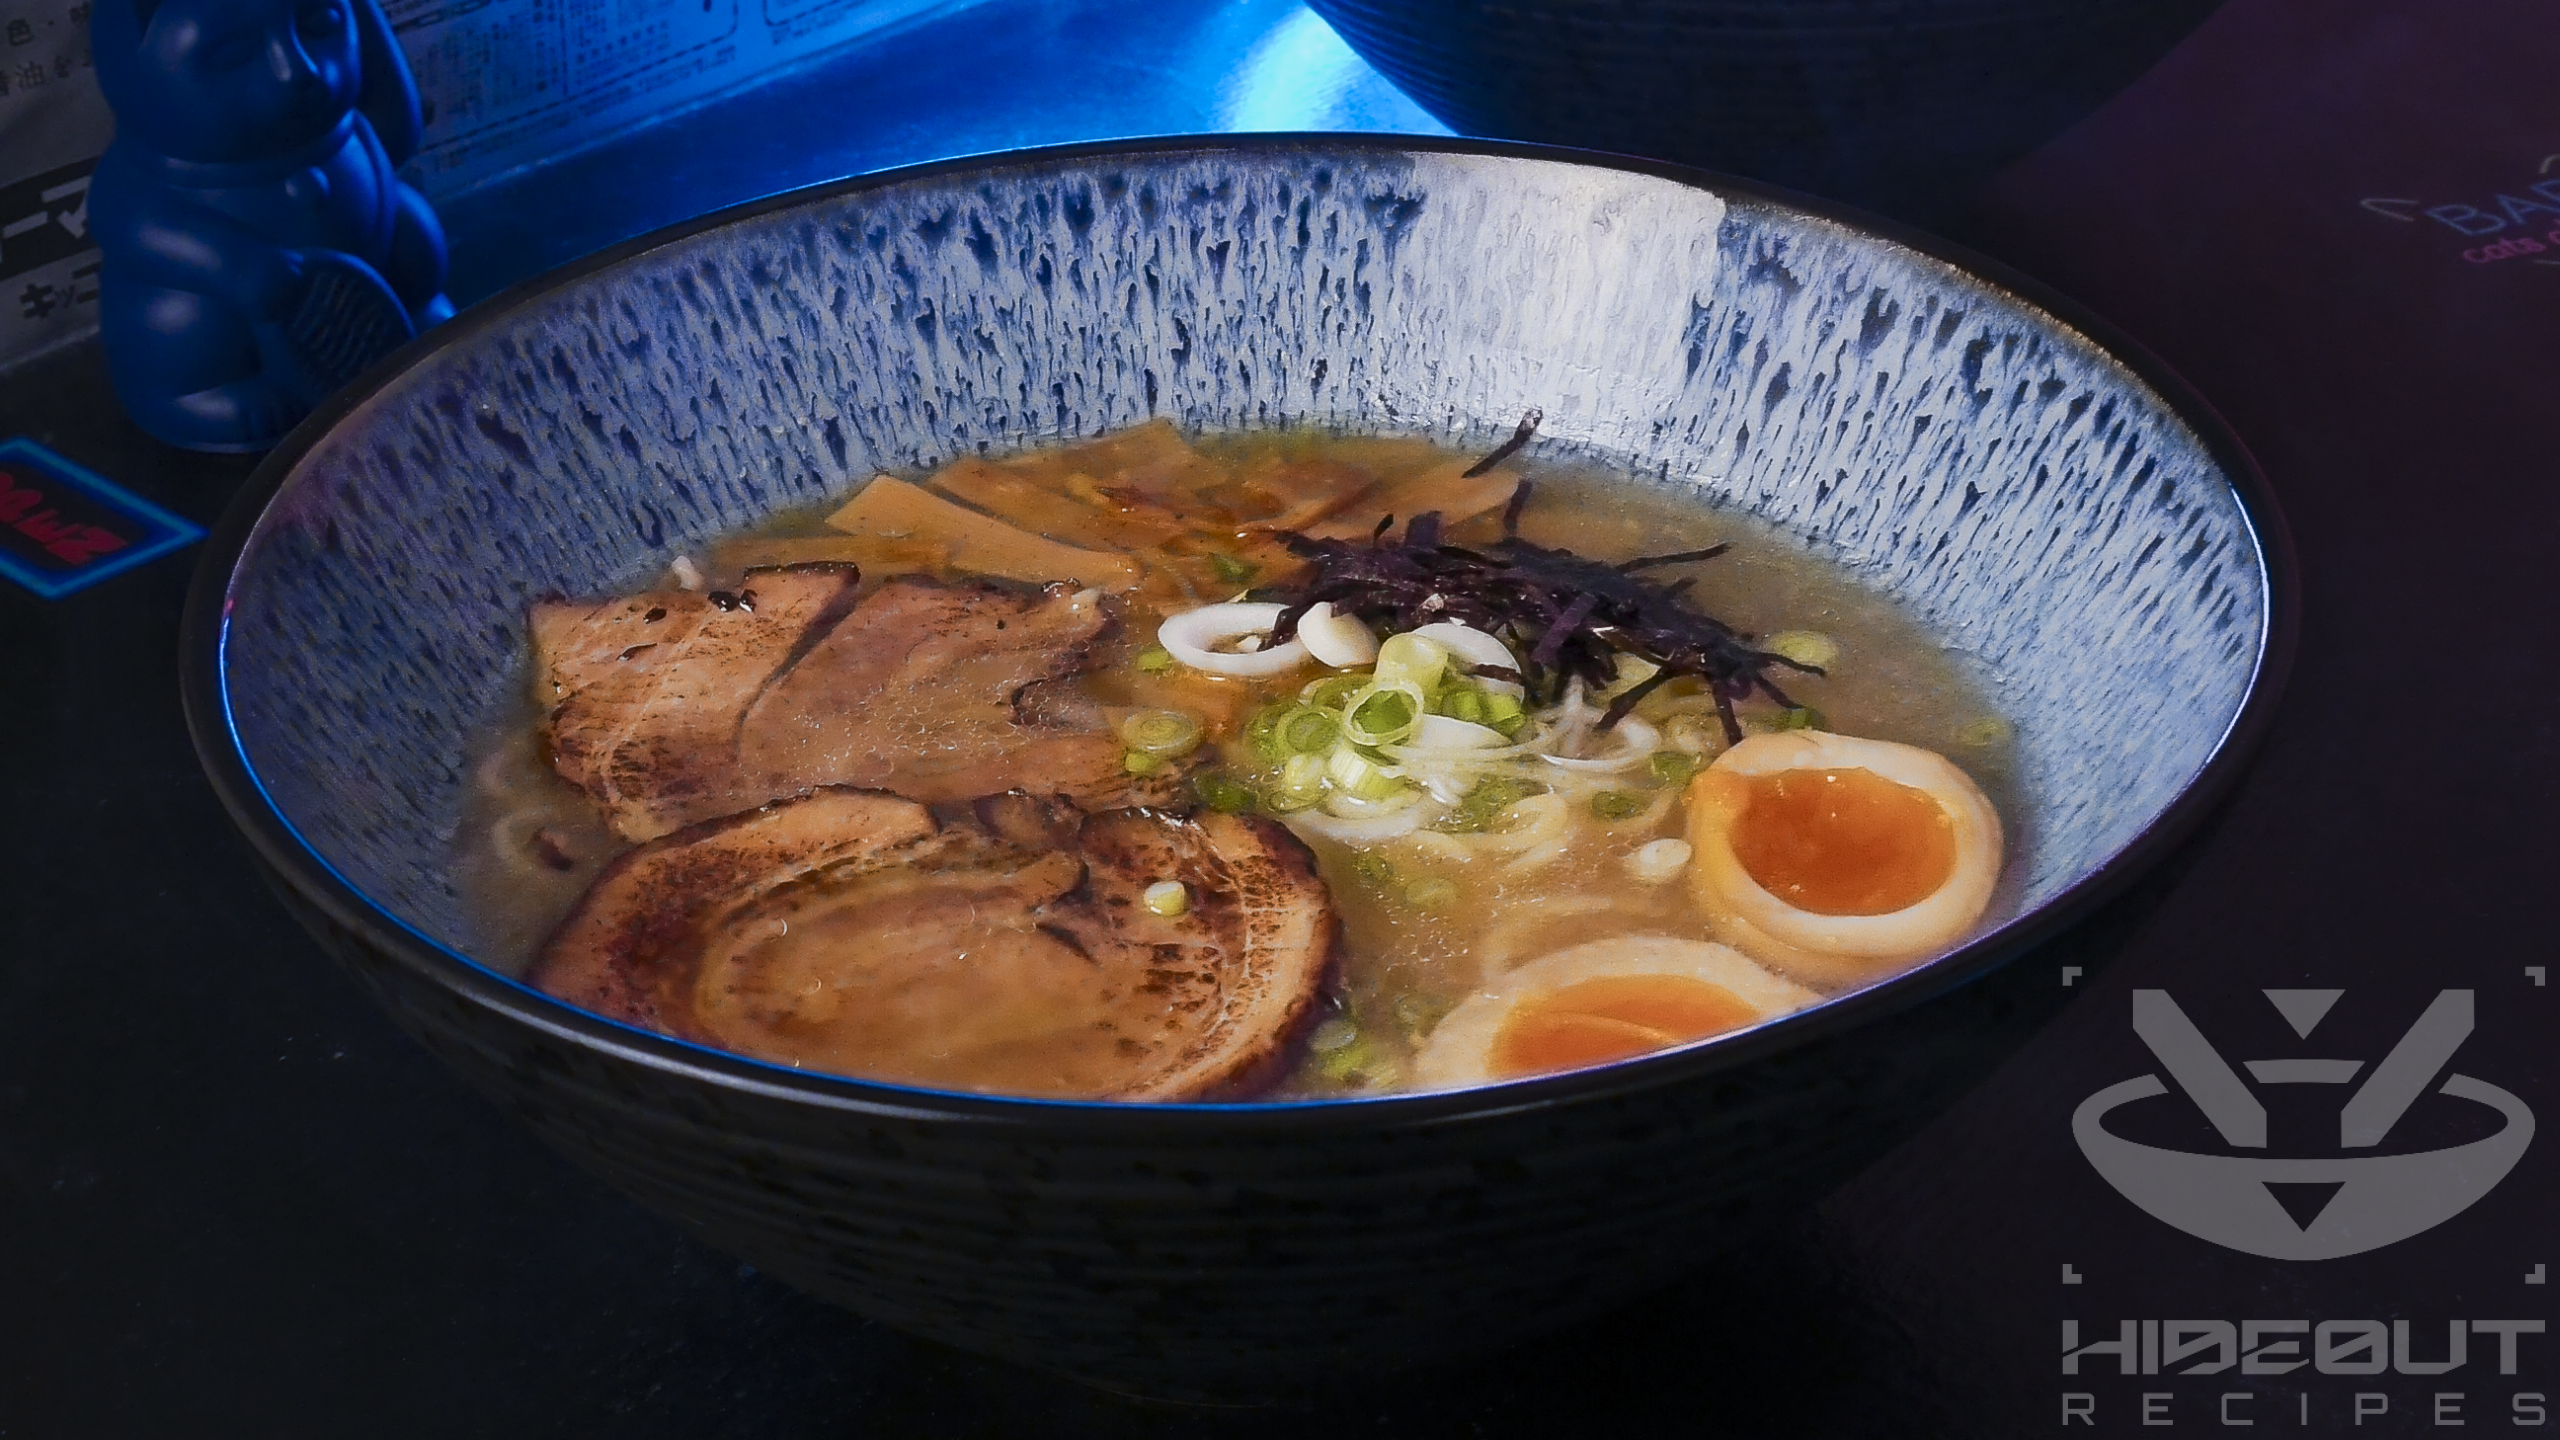
- Carefully add a serving of noodles to each bowl. If you want a nicer presentation, pull them out of the broth from the middle using chopsticks, then lay them down to the side so they're aligned in one direction.
- Add the ramen toppings of your choice and serve immediately.